How to Organize Your Pantry – Pantry Organization Tips
Are you struggling with pantry organization? Your pantry is the heart of your kitchen and when it isn’t organized it can make finding the things that you need so much more difficult. These pantry organization tips will help you organize your pantry and keep it looking great.

We moved into our current house with 2-year-old twins. We’d previously moved when they were only a few months old so let’s just say things didn’t get packed-up in a very organized manner and we definitely didn’t have time to declutter.
We unpacked in a hurry just to get the job done but now that we have been here for several years (and my twins are a bit more self-sufficient) I’m realizing that it is time to go through and rethink my kitchen organization. That is especially true for my pantry organization. With 8 people in our family, our pantry gets a lot of use and we had resorted to the shove-it-where-it-fits method.
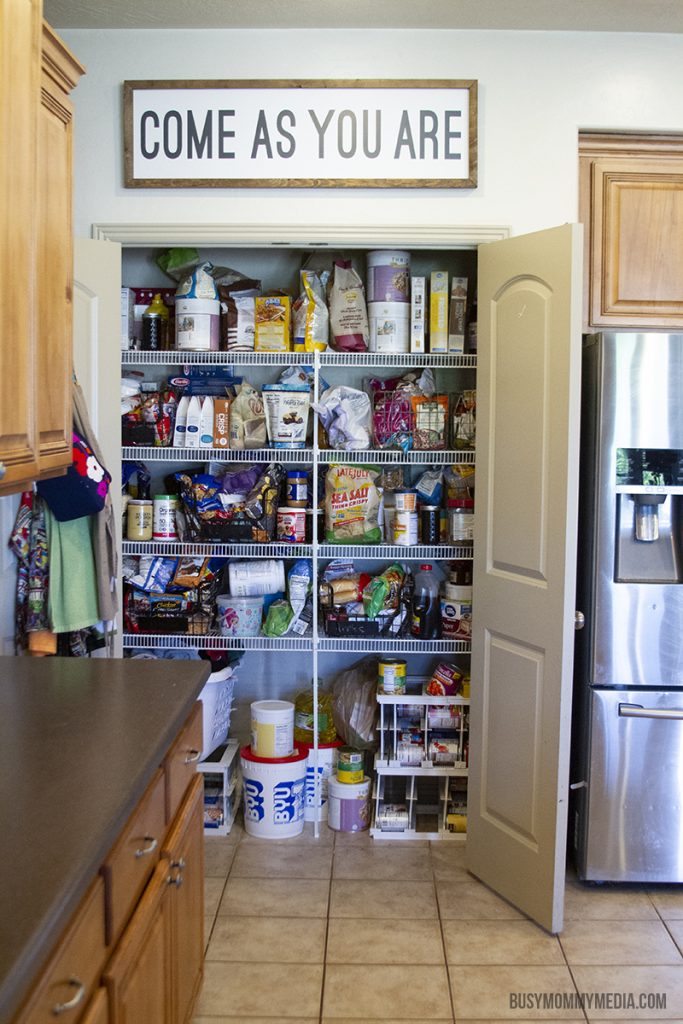
My pantry was a mess.
Fortunately, Jancee from Finding Your Fancee was there to help (In fact, you can find 12 of her favorite pantry organization products here).
If you are overwhelmed by a project, I HIGHLY recommend having someone walk you through it. Sometimes you just need someone to act as a sounding board and look at your project with a fresh set of eyes.
If you are local to me in St. George, Utah, I’d definitely recommend having Jancee come by and help you with your organizing goals. She offers one on one consultations and organizing sessions.
How to Organize a Pantry
Organizing your pantry can be a huge task. These tips simplify the process but plan to set aside several hours to get your pantry under control. My pantry was a DISASTER.
I had stuff shoved anywhere it would fit. Some things were still in grocery sacks. It was ridiculous.
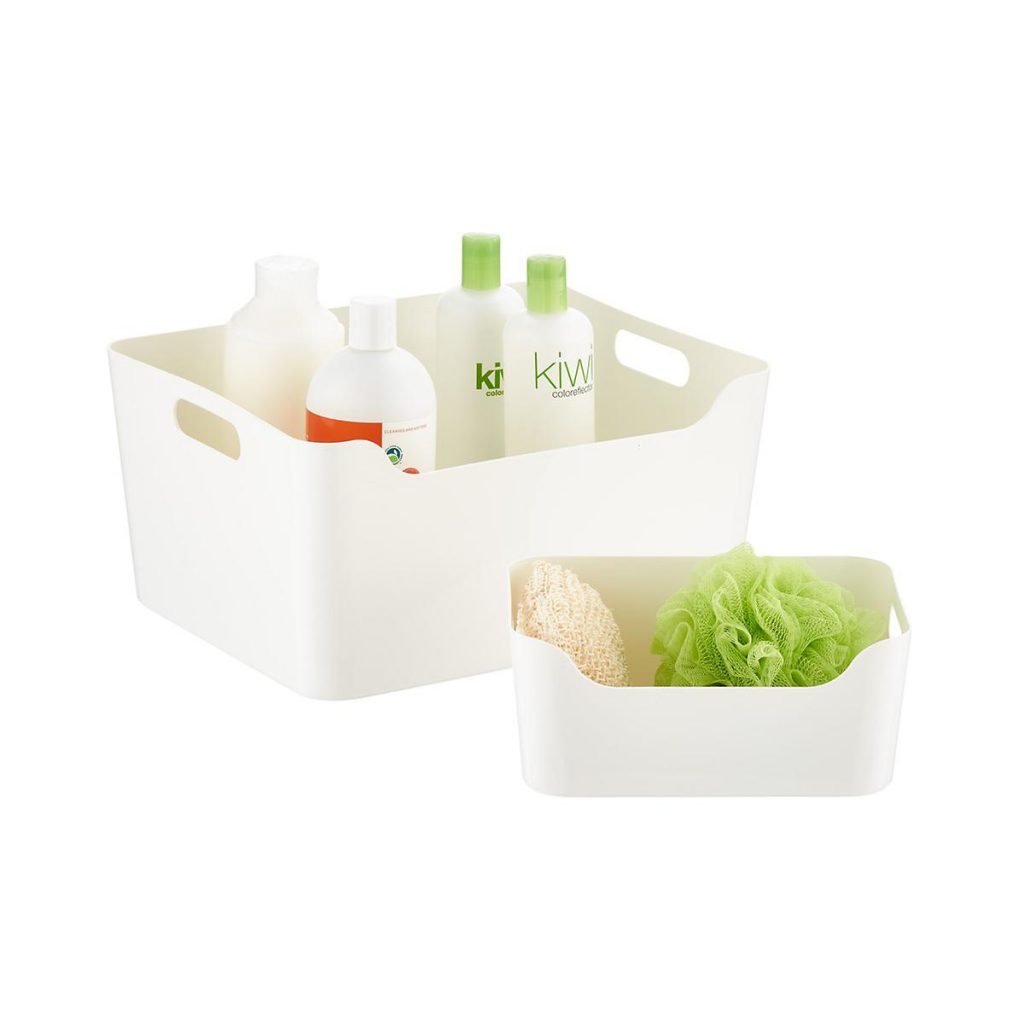
Buy storage containers
Before you even touch your pantry, you need to get ahold of some storage containers. I always recommend using what you already have, if possible, but I know that may not always be realistic.
I used a few baskets that I had on hand and then purchased some containers because I wanted a fairly uniform look.
Storage Containers I used:
- The Multi-Purpose Bins in Medium from The Container Store – I love, Love, LOVE these storage containers. They are perfect for deep pantries or cabinets that things tend to get lost in. Because they are clear you can see exactly what is in them. They are narrow so they don’t take up a lot of frontage in your pantry but they go all the way to the back so they still have plenty of storage space. Even better, they fit most food items, like cans and packages of spaghetti, perfectly.

- Ikea Variera Containers (large) – I absolutely love these containers and use them all over my house They aren’t as tall as the Multi-purpose bins and take up more shelf space but they are handy for snacks and things that my kids are constantly grabbing. You can find them at IKEA or online here. They are quite a bit more online though, so if you aren’t near an IKEA (or don’t feel like going to the store), I’d recommend grabbing these very similar containers from The Container Store here.


Other pantry storage options:
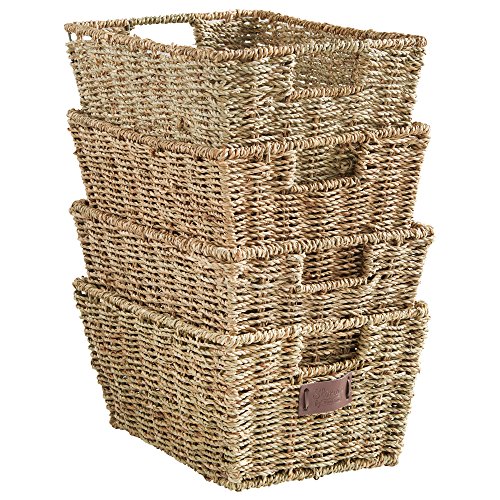
mDesign Modern Stackable Metal Storage Organizer Bin Basket with Handles, Open Front for Kitchen Cabinets, Pantry, Closets, Bedrooms, Bathrooms – Large, 3 Pack – BronzeVonHaus Set of 4 Seagrass Storage Baskets with Insert Handles Ideal for Home and Bathroom Organization – 12(L) x 9(W) x 6(H) inches
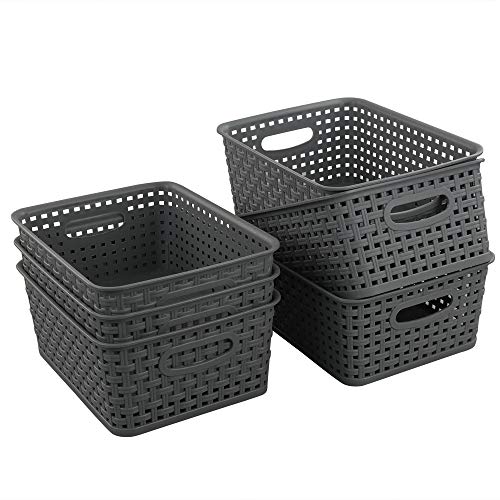
Teyyvn Plastic Storage Basket, 10.03
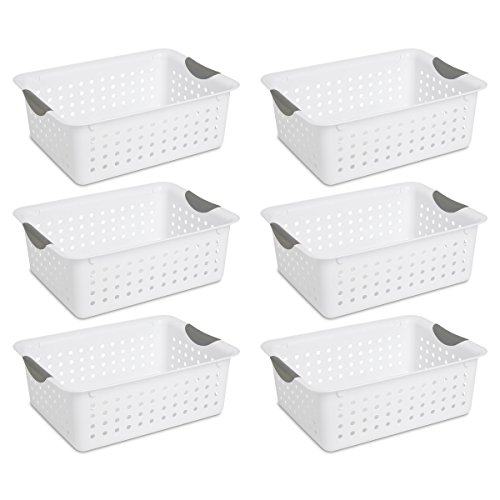
Sterilite 16248006 Medium Ultra Basket, White Basket w/ Titanium Inserts, 6-Pack
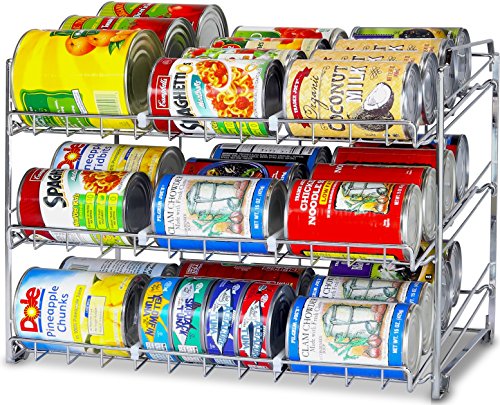
SimpleHouseware Stackable Can Rack Organizer, Chrome
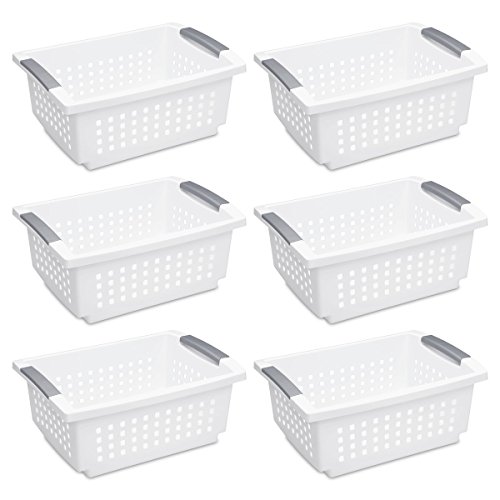
Sterilite 16628006 Medium Stacking Basket, White Basket w/ Titanium Accents, 6-Pack
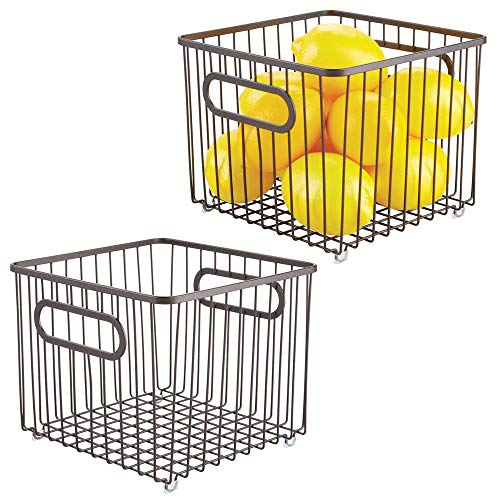
mDesign Metal Farmhouse Kitchen Pantry Food Storage Organizer Basket Bin – Wire Grid Design – for Cabinets, Cupboards, Shelves, Countertops – Holds Potatoes, Onions, Fruit – Square, 2 Pack – Bronze
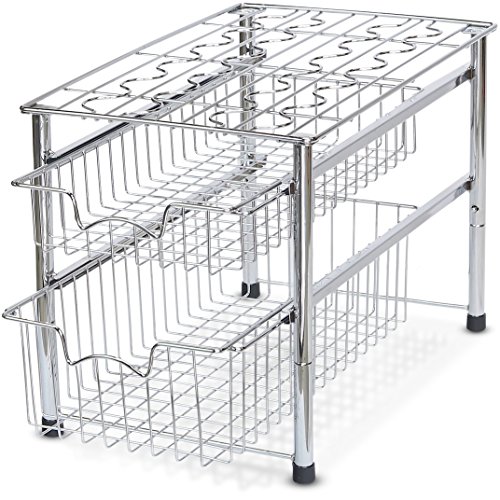
Simple Houseware Stackable 2 Tier Sliding Basket Organizer Drawer, Chrome
Set of 2 Nesting Countertop Baskets – Wooden Organizer Crates for Kitchen, Bathroom, Pantry | For Fruit, Vegetables, Produce, Bread and General Storage Space | Decorative Rustic Wood and Metal Wire
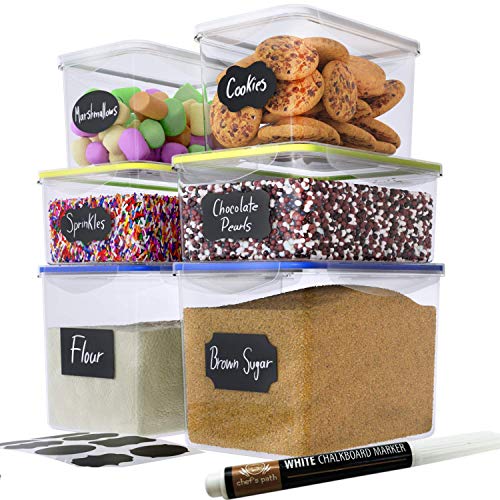
Chef’s Path Food Storage Containers – Flour Container – Great for Sugar, Baking Supplies – Airtight Kitchen & Pantry Bulk Food Canisters- BPA-Free – 6 PC Set – 8 Labels & Pen
Smart Design Stacking Baskets Organizer w/Handle – Medium – Steel Metal – Food, Fruit, Vegetable Safe – Kitchen (12.63 x 5.5 Inch) [Chrome] (2 Pack)
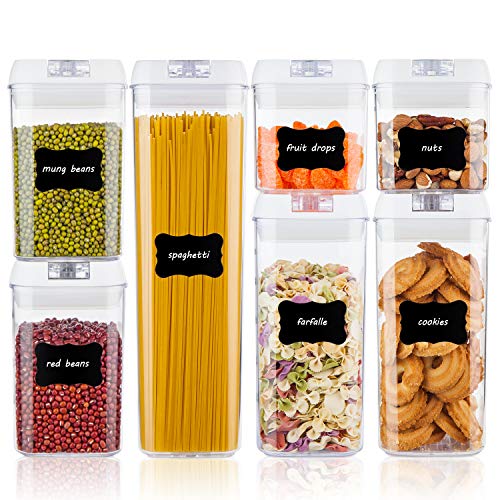
Airtight Food Storage Containers,Vtopmart 7 Pieces BPA Free Plastic Cereal Containers with Easy Lock Lids,for Kitchen Pantry Organization and Storage,Include 24 Free Chalkboard Labels and 1 Marker
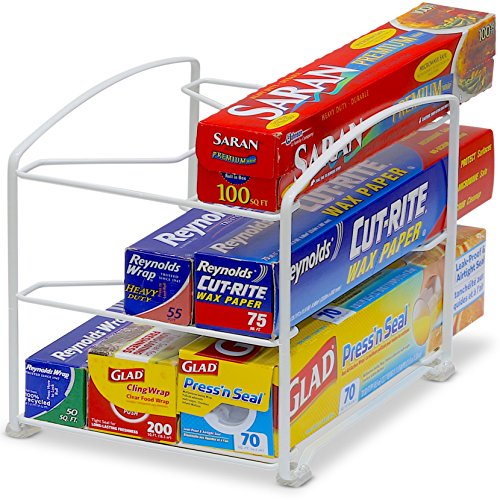
Simple Houseware Kitchen Wrap Organizer Rack, White
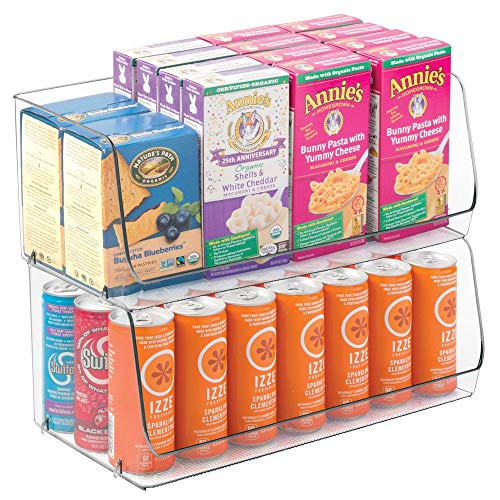
mDesign Extra Large Household Stackable Plastic Food Storage Organizer Bin Basket with Wide Open Front for Kitchen Cabinets, Pantry, Offices, Closets, Bedrooms, Bathrooms – 15
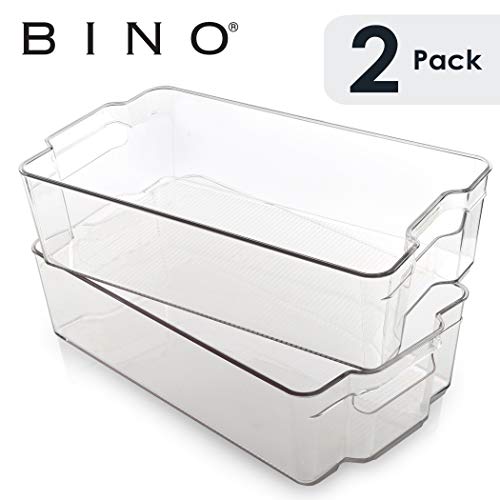
BINO Stackable Plastic Organizer Storage Bins, X-Large – 2 Pack – Pantry Organization and Storage Refrigerator Organizer Bins Fridge Organizer Freezer Organizer Pantry Organizer Pantry Storage


![Smart Design Stacking Baskets Organizer w/Handle - Medium - Steel Metal - Food, Fruit, Vegetable Safe - Kitchen (12.63 x 5.5 Inch) [Chrome] (2 Pack)](https://images-na.ssl-images-amazon.com/images/I/51QuVzAWIhL.jpg)
Whatever you decide to use, be sure you have enough to finish your entire pantry without heading back to the store. I’d always rather have a few extra containers because I have the option to return them when I am done or use them somewhere else in my house if I end up with extra.
Take everything out
The first thing you need to do when organizing any space is to take EVERYTHING out.
I know that it is tempting to skip this step but I promise you that if you remove everything you’ll be able to better see the space you have and really evaluate what you need. I’ve done this as I’ve gone through all of my closets and toy areas.
The times when I’ve removed everything are the times when my organizational systems actually stick. When I don’t remove everything things tend to slowly go back to the way they were before, which is no good.
- Pull everything out. Yes, EVERYTHING.
- Sort it loosely by categories as you pull things out. Don’t overthink this. There will be time to rearrange everything later.
- Throw out anything that is expired or no longer needed. Be AGGRESSIVE with this. If it has been in your pantry for more than a few months, chances are you aren’t going to use it. Either make a plan to use it, donate it (if it is not expired), or throw it away.
Separate what is left into categories
Food is much easier to find when it is separated by categories. Consider the things you typically use on a regular basis and group them together. Your pantry items should already be loosely sorted from pulling them out. This is the time to really take a deep dive and decide what categories of food you use on a regular basis.
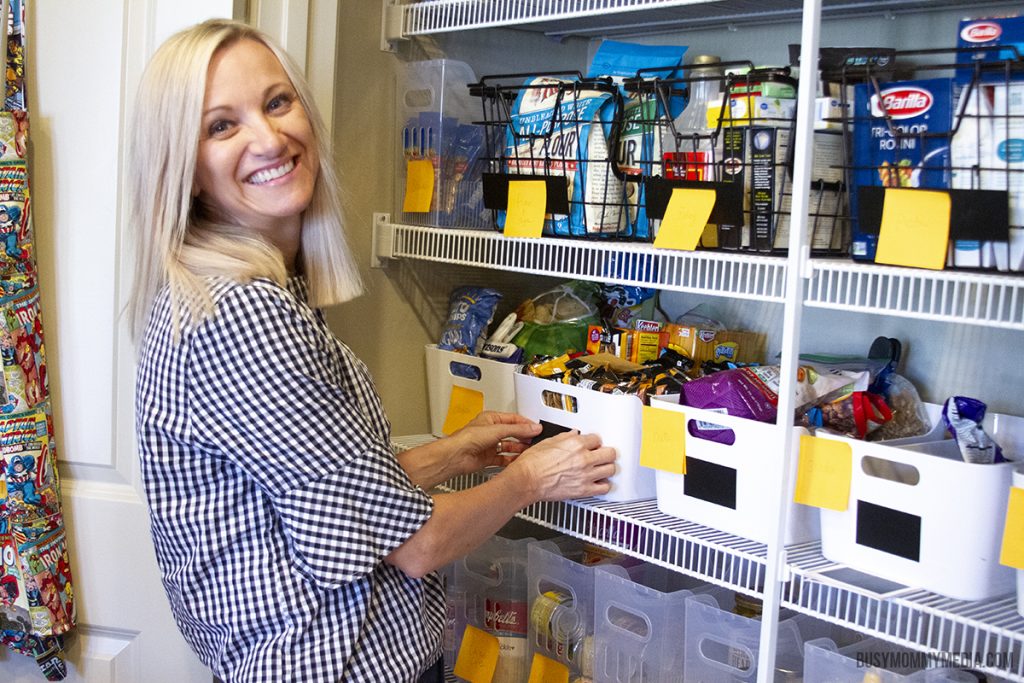
Use post-it notes to roughly label your containers.
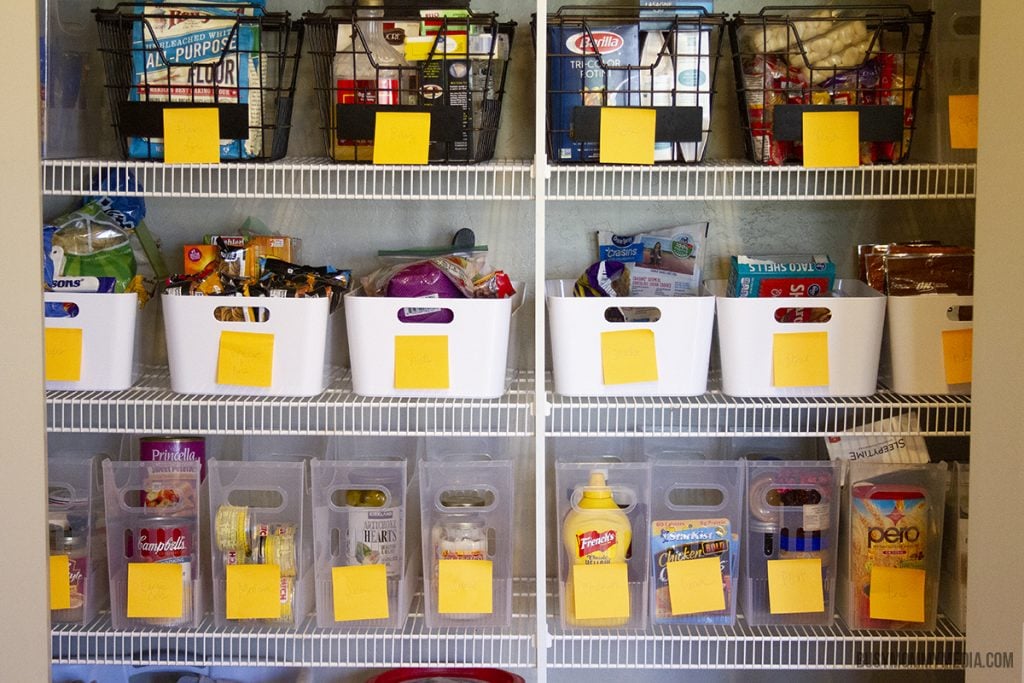
Leave these up for several days while you finalize your categories. You want to be sure that the way you’ve organized your pantry really works for your family. If you have the time, wait until after you go grocery shopping so you can see how your pantry system works when fully stocked.
Label your storage containers
I have organized my pantry plenty of times in the past. Most of those times it has gone back to its former state of chaos within a few weeks. The goal here is to avoid that.
You don’t want to put in all this work for it not to stick. I have 6 kids and 3 of them are seven and under. This was a huge worry for me because I didn’t want to put all this work in just to have them go in and create chaos.
Labeling your storage containers will help you maintain your organizational system and help your family understand how to use it. Labels make it so easy for everyone to know where things go and find things when they are needed.
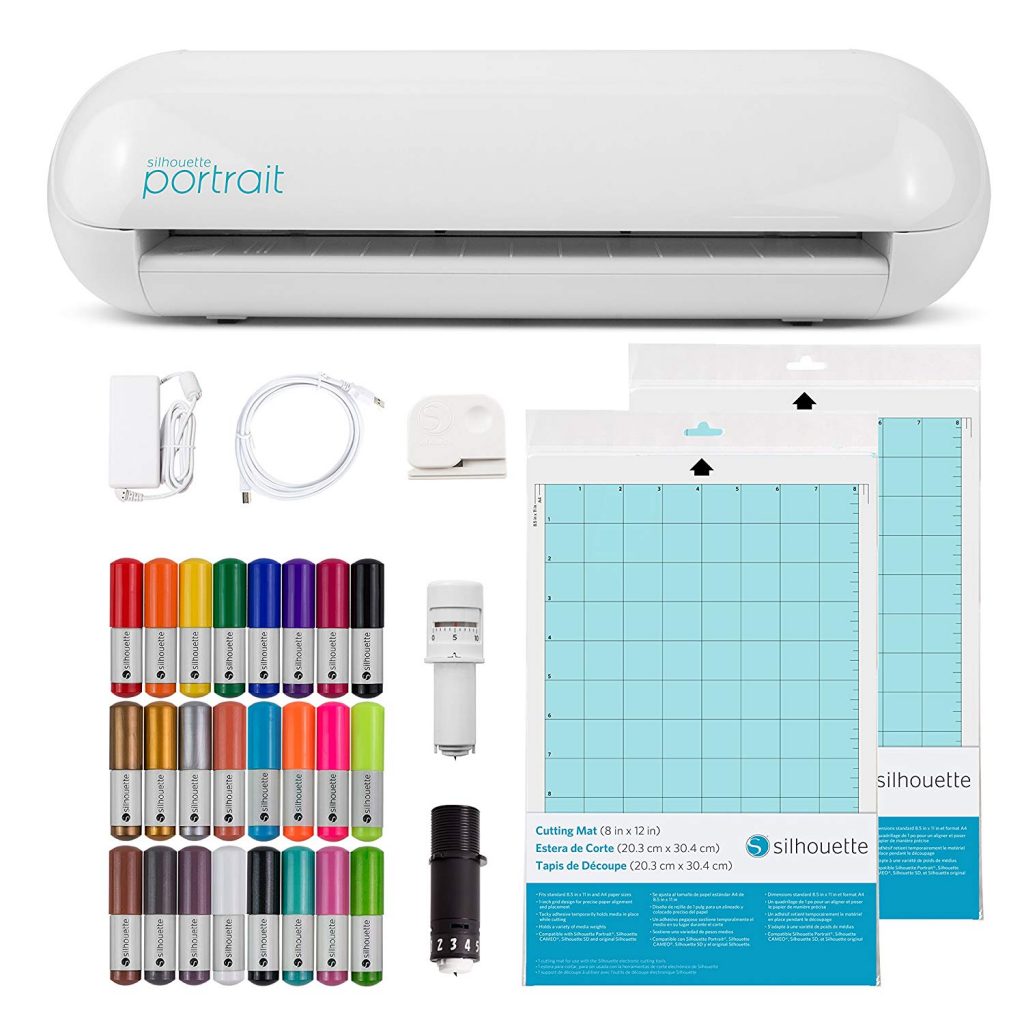
I’d recommend the Silhouette Portrait 2 Starter Bundle. The vinyl that this machine uses is the easiest to work with, but of course, any vinyl machine will work too.
We used a font that was easy to read, even for my young readers, and went through a basic tour of the pantry once everything was in place. For the clear bins, we used these chalkboard labels behind the vinyl letters to help them stand out a bit more.

Use a small label maker for odds and ends. We used the label maker to add labels to my can organizer at the bottom of my pantry. We have this label maker and really like it.
Put the most frequently used items at eye level
You want to arrange your pantry based on ease of access. Put the things you use most frequently at eye level or at a level that you can easily reach. I have a high top shelf in my pantry and I saved that for additional baking supplies, breakfast items (which we don’t typically use every day because we usually eat breakfast from the fridge) and baking mixes.
I saved the center of my pantry for snacks, bread, etc. and used the lower half of my pantry for heavier items such as cans.
I choose to take advantage of the floor in my pantry as well. I love taking advantage of all the space I can so I didn’t want to miss out on using the large space at the bottom of my pantry. I didn’t want any cardboard boxes down there because I live in the desert and the bug situation can be serious down here (scorpions, tarantulas … we’ve pretty much found them all).
I was fine with cans being down low though and that had the added benefit of me not having to load my shelves up with heavy cans. I used these pantry organizers and stacked two on top of each other. I added some large plastic containers for staples on the floor of my pantry (such as flour, sugar, rice, and oats) that were too large and heavy to take up space on my pantry shelves.
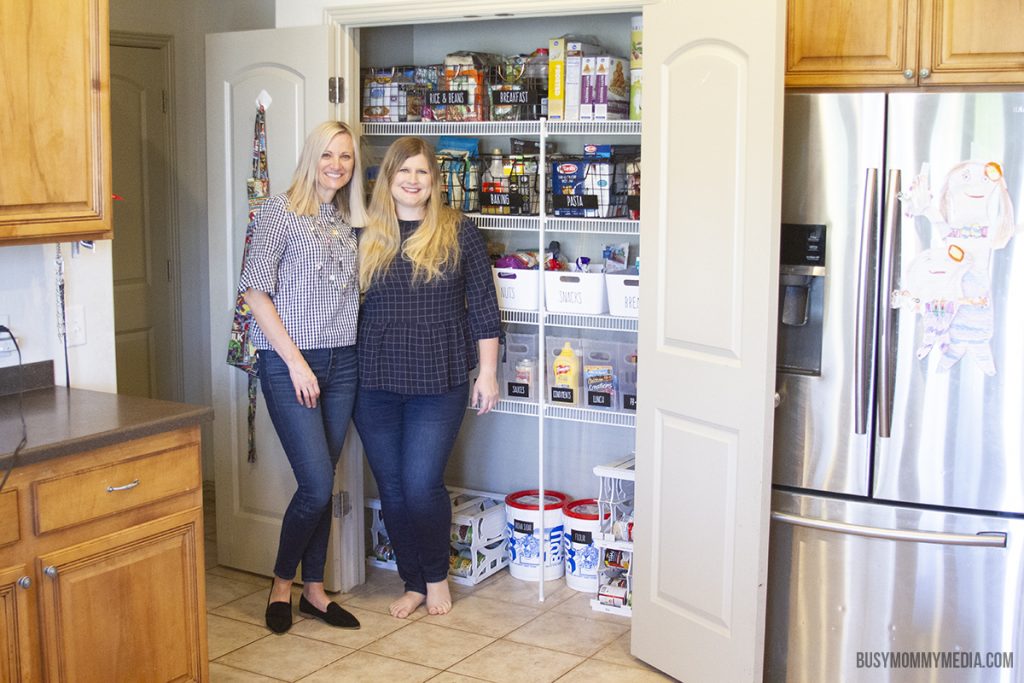
I am LOVING my organized pantry now. It has been several months and we have managed to keep everything (mostly) put together. My kids love knowing exactly where things go and I love that I have at least one place in my home where I have conquered the chaos!
You may also like