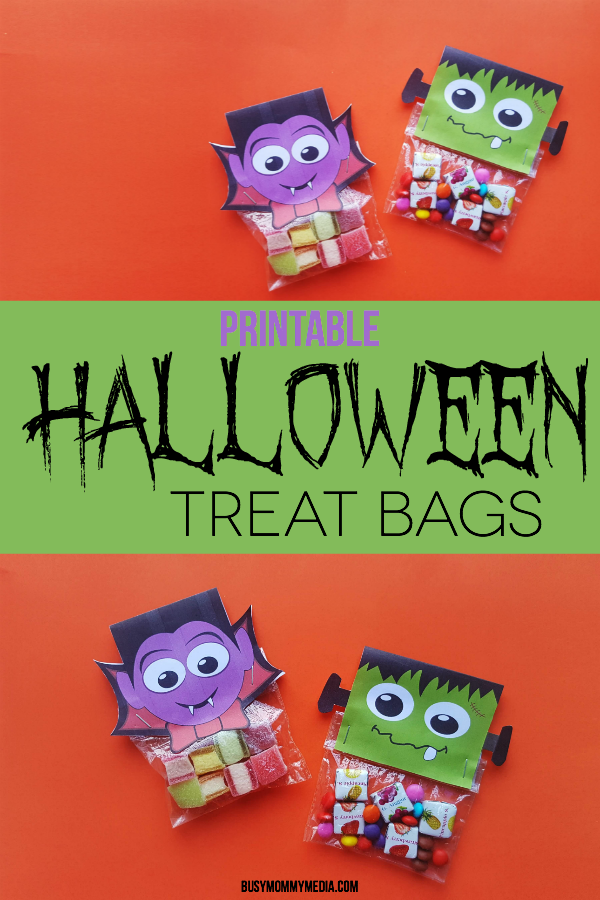
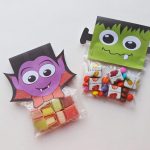
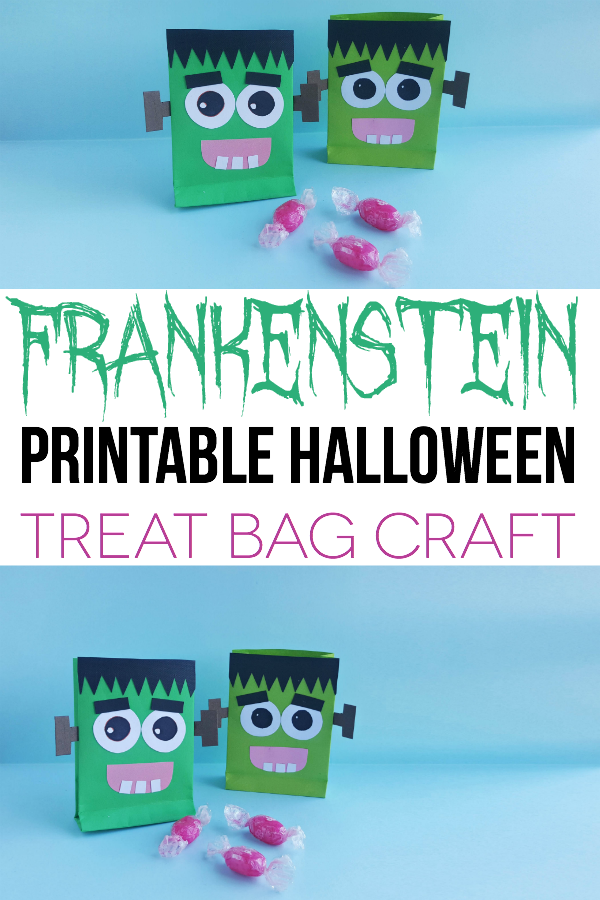
Frankenstein Halloween Treat Bag Craft
These Frankenstein Halloween Treat Bags are so cute and the printable template makes them so easy to make. Perfect for a Halloween party activity for kids or as a fun way to give out Halloween treats to friends, you really can’t go wrong with these!
I love finding fun ways to help my kids get more into the holidays, especially when their are class parties or neighborhood get togethers. I love it even more when I can find simple ways to make things a bit more festive because my artistic skills are kind of non-existent.
These Halloween treat bags are fun to make and look fantastic when they are done . . . but the best part is they can be made using our printable template so they are SUPER simple to put together.
Every year one of my kids’ classes asks for someone to come in and do a Halloween craft. These would be such an easy way to help out in the classroom. Fill the bag up with a little handful of candy and you are sure to be the hit of the room.
This year, my kids are putting these together for little friend treat bags. They’ll have a blast making them and I know their friends will appreciate the treat.
Frankenstein Treat Bag Craft Supplies
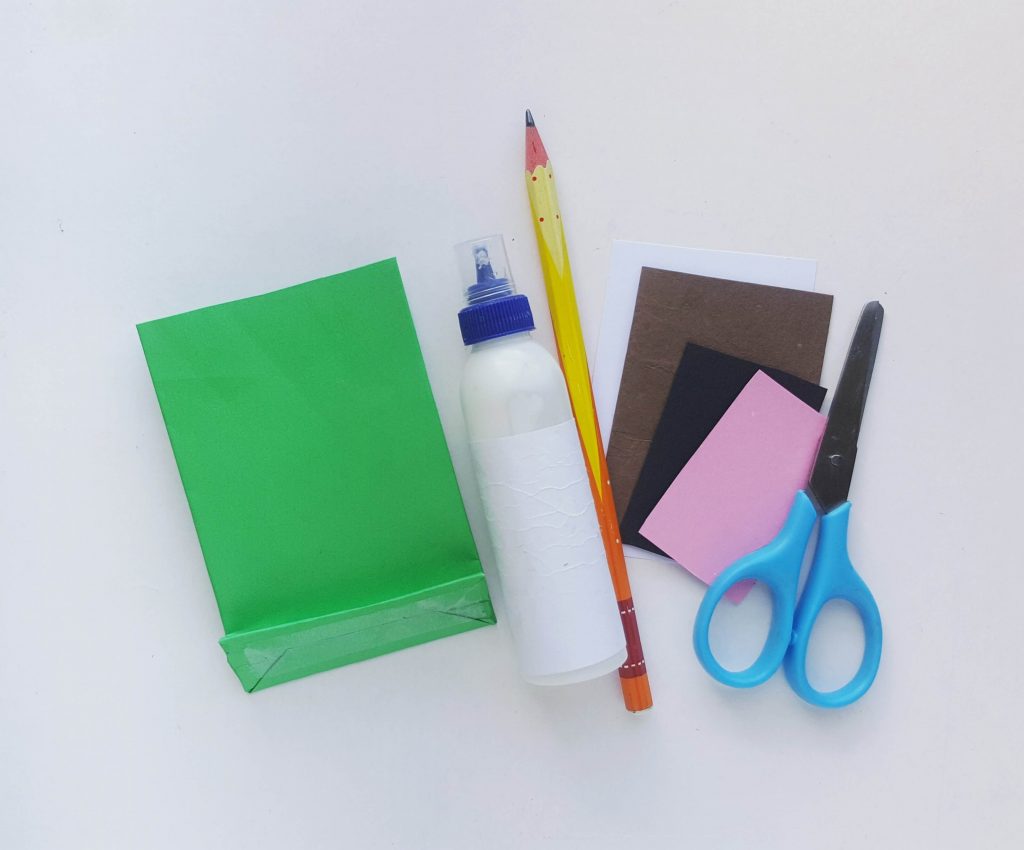
- Colored craft papers
- Craft glue
- Scissors
- Pencil
- Green Paper bag – We like these ones the best.
- Printed Template – Download Frankenstein Template Here
Frankenstein Treat Bag Craft Instructions
You can make the treat bag from green colored craft paper or simply use a store bought green colored paper bag. Print and cut out the template patterns. You can use the colorful patterns or use the blank ones and trace them on the colored craft papers of your choice.
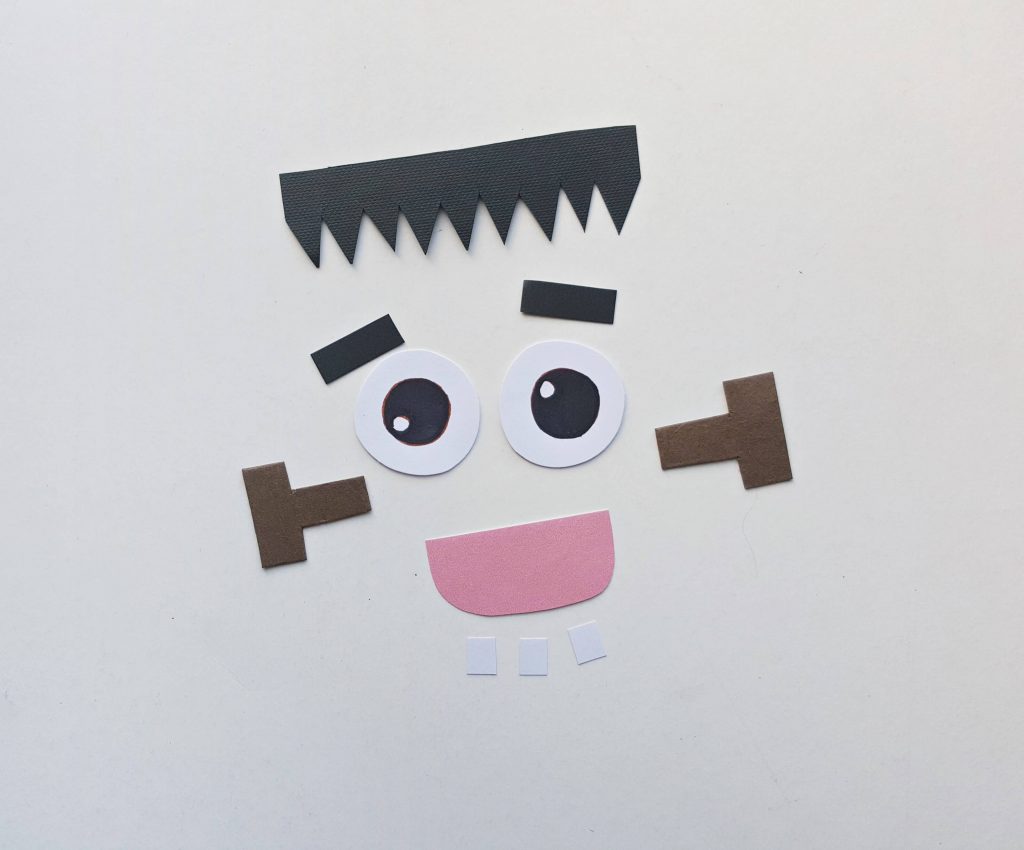
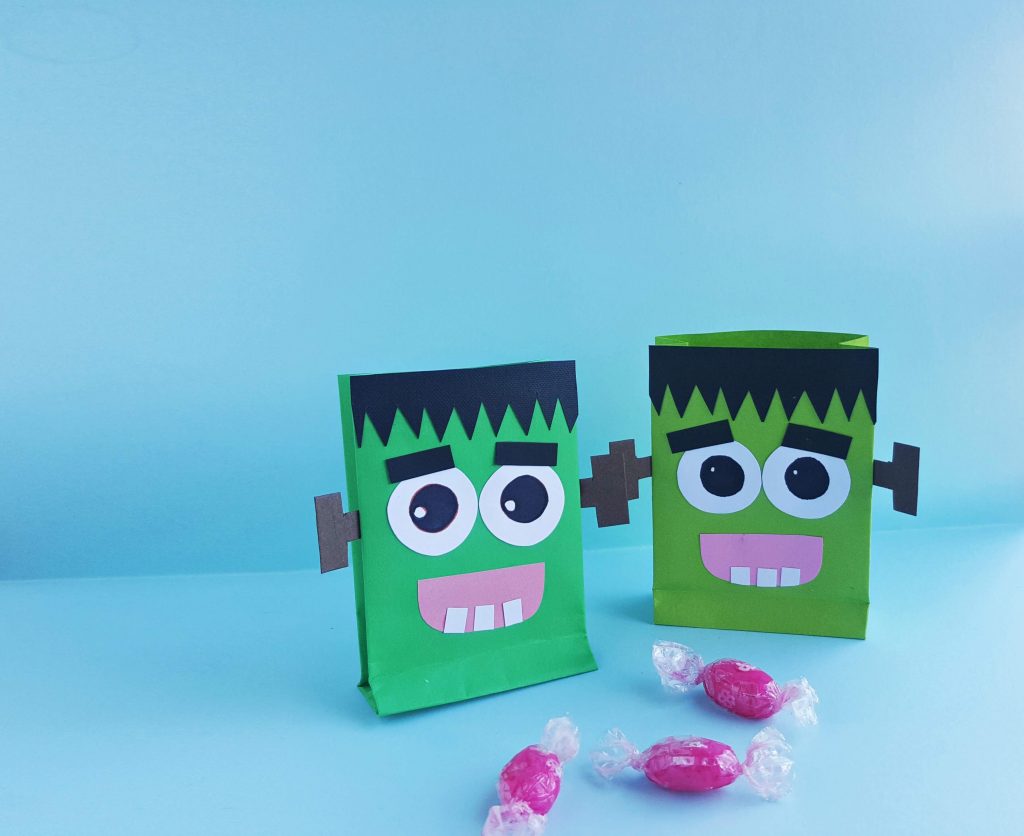
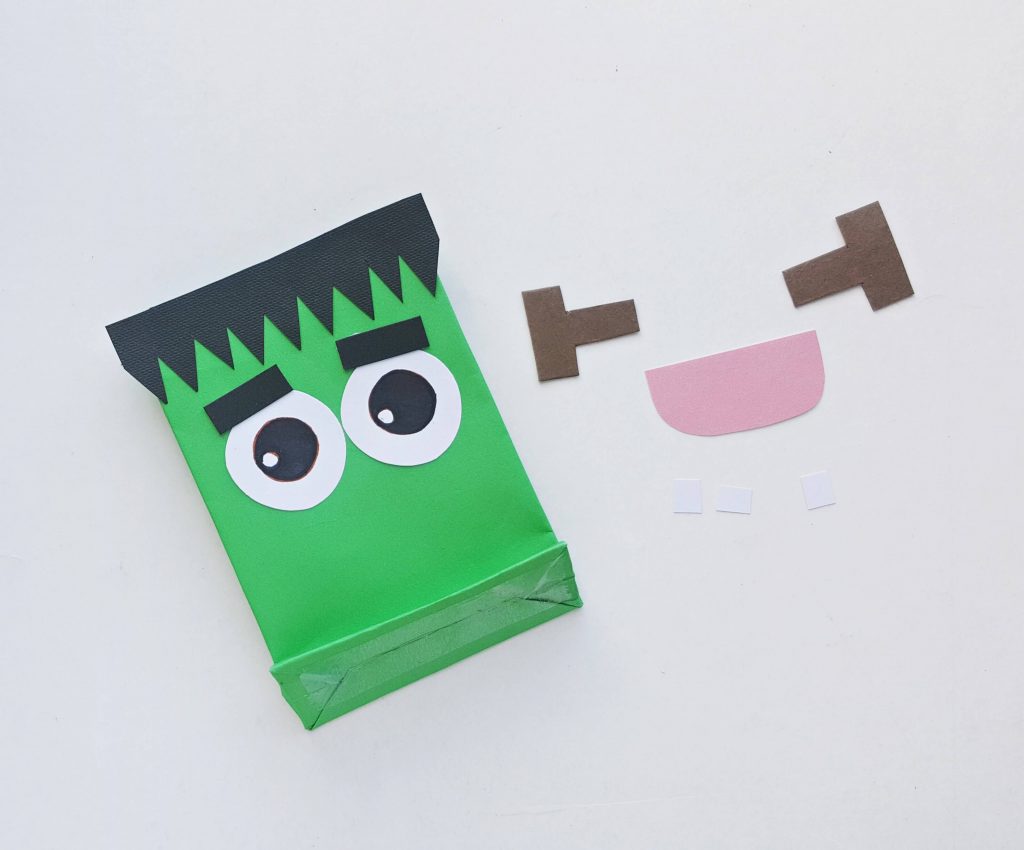
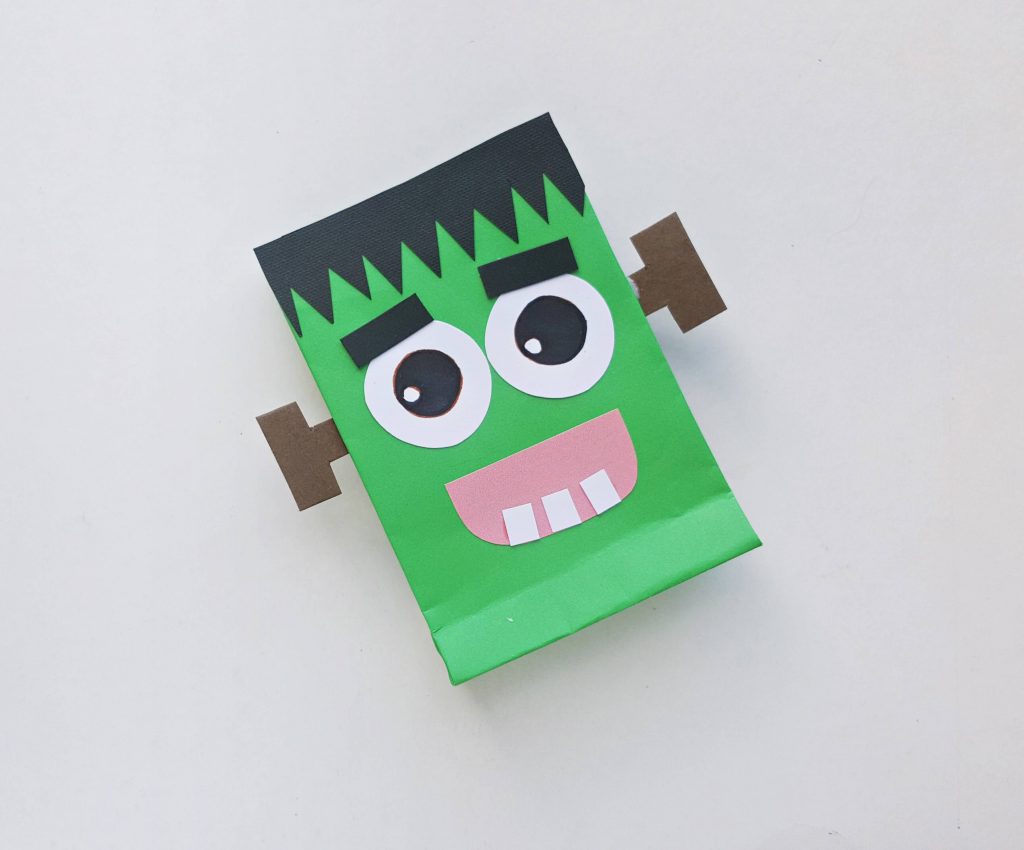
Use craft glue to stick the prepared items on the bag. Glue the strip with zigzag border (hair) along the border of the open end (of the paper bag).

Glue the eyes and the eyebrows right below the hair; keep a gap between the hair and the eyes.
Glue the mouth and then glue the 3 square patterns (tooth) along the bottom side of the mouth’s inner part.
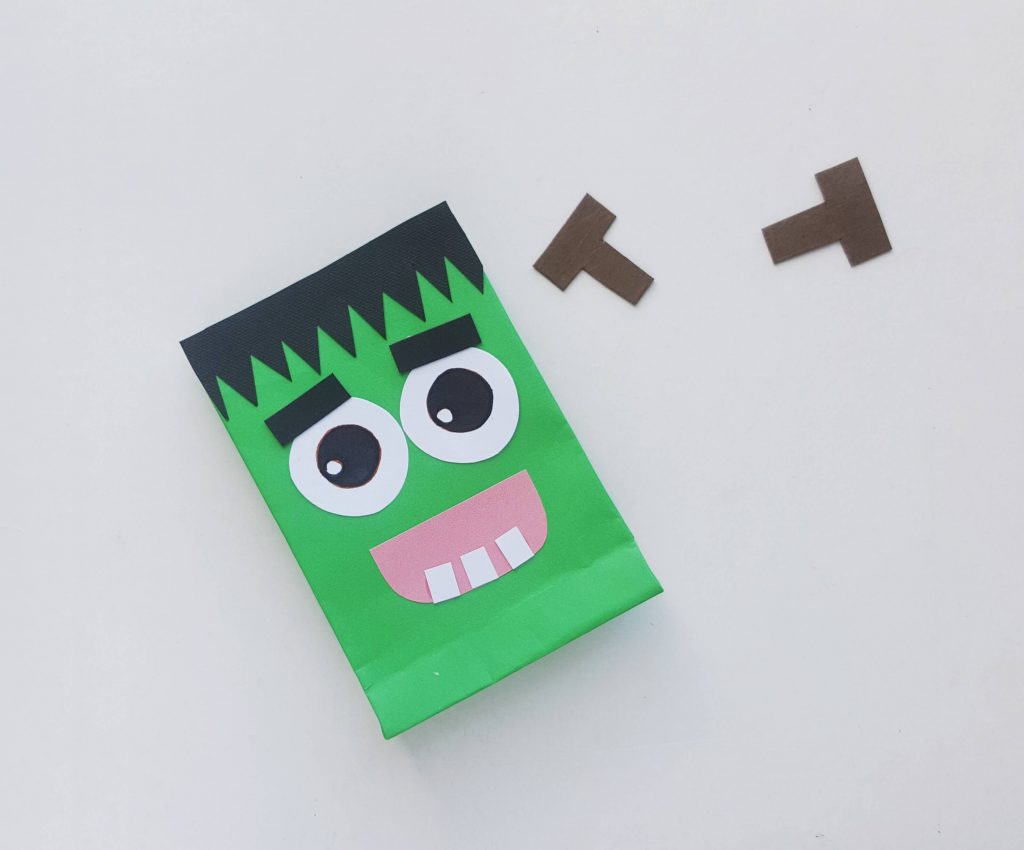
Glue the t-shape patterns (Nuts and bolts) on both sides of the paper bag.
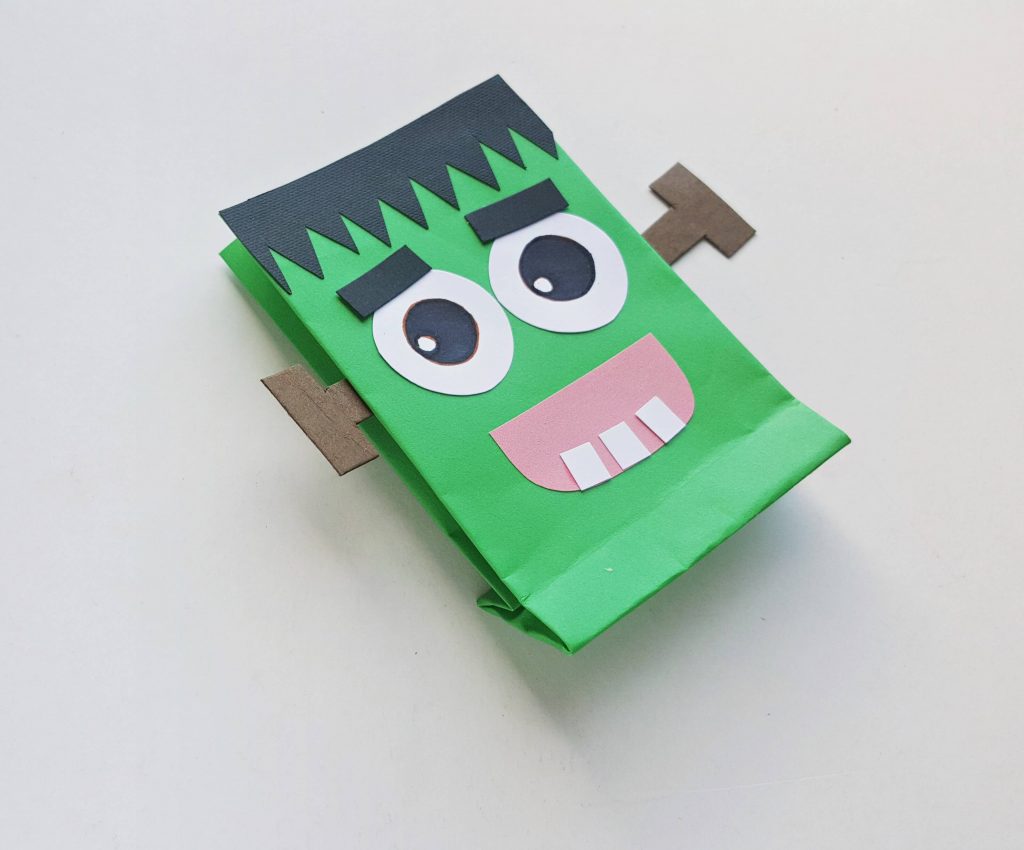
Add more details if you want to such as a stitch mark on the face and then allow the glue to dry.
Enjoy!
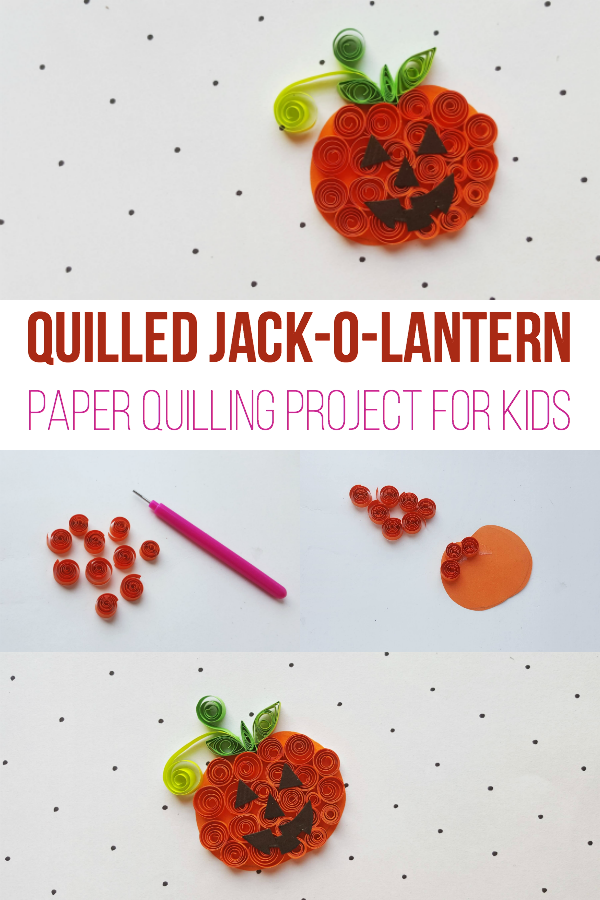
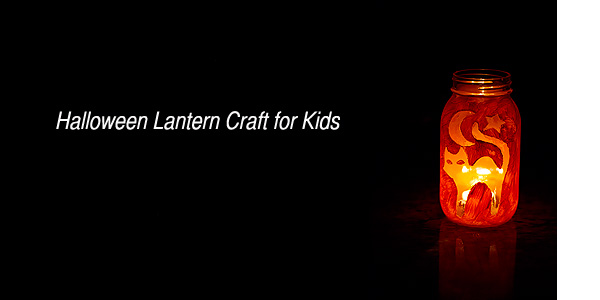
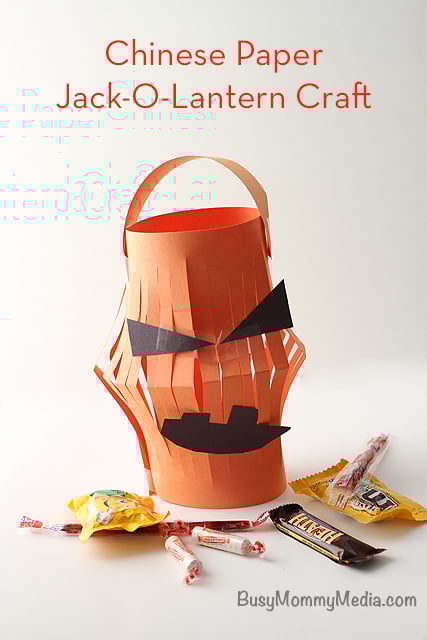
YOU MAY ALSO LIKE THESE HALLOWEEN CRAFTS: