Halloween Lantern Craft for Kids
 Decorating for the holidays is one of the great joys of childhood but holiday decorations can be pricey.
Fortunately, you can make some great Halloween decorations without spending much money and your kids will be proud to display something that they helped to make.
This homemade Halloween lantern is incredibly easy to make and will do a great job of setting a festive mood. For this simple Halloween craft, all you’ll need is a few supplies, many of which you probably already have around your house.
I’m not really much of a crafter so for me, the simpler the project is the better.
Supplies
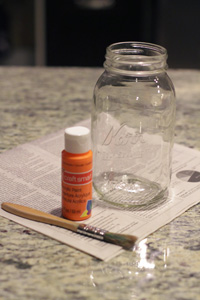
Old Canning Jars – If you don’t have any already in your home, check out local thrift stores or garage sales because you can buy these for almost nothing
Orange Acrylic Paint – I bought this for under $1 at a local craft store. Be sure and look for coupons before you shop. Most craft stores offer discounts around this time of year. I took advantage of a homeschool discount from my local craft store by brining in a letter from the school district stating that I was homeschooling.
Paint Brushes – Any smaller paintbrush will do
Masking Tape – If you want to do a simple Jack-O-Lantern design, this is all you’ll need. If you want to do anything more elaborate, look for double sided tape or contact paper.
Instructions
Start with clean canning jars.
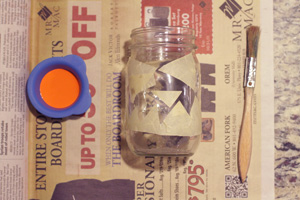
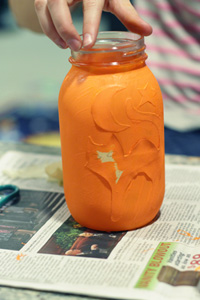
To make a simple Jack-O-Lantern, all you need to do is cut some triangular shapes out of a piece of wide masking tape. My 8 year old was able to do this on his own. We put the paint in small silicone dipping cups. I don’t believe the ones we have are still being made but I love them for painting. You could also use silicone muffin cups or these stainless dipping cups.
Be sure that the tape is firmly adhered to the jar along the edges. This is what will give you nice, clean lines.
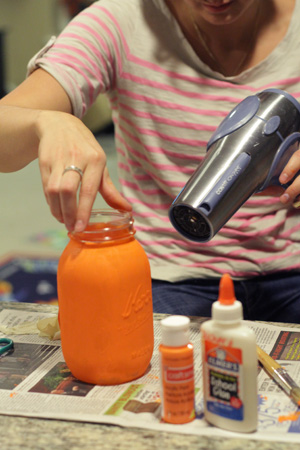
Use a paintbrush to cover the surface of your jar with orange paint. We had to do two coats. You can stick with one if you want to allow more light to shine through the jar.
Allow the paint to dry thoroughly before removing the tape.
Or you could do what we did. We aren’t patient people. A hairdryer seemed to do the trick.
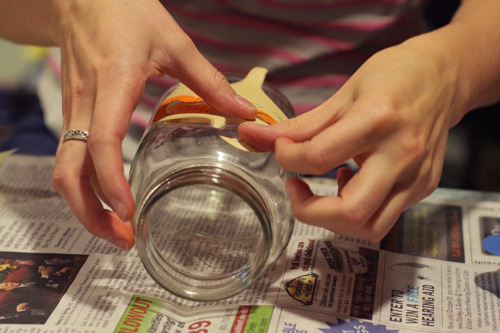
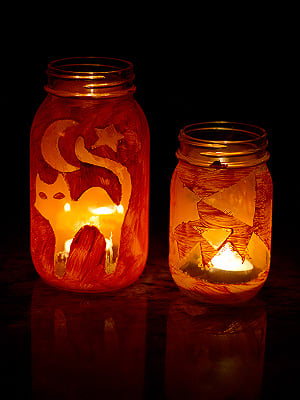
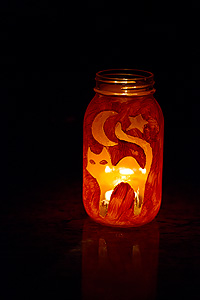
If you want to do something a bit more elaborate, you can ditch the Jack-O-Lantern face and get creative. We cut a design out of construction paper then used a combination of tape and glue to get it to stick to the jar.
The edges had to be cleaned up a bit when we were done though, so I’d recommend tracing a design on contact paper, cutting it out and attaching it directly to the jar.
Before you start thinking that I’m craftier than I think I am . . . I didn’t do the adorable cat design. I set my craft sister to work on that one.
When the jars are dry, put a tea light inside and light it. You’ll have an adorable addition to your Halloween decorations.
 This project was adapted from a project published in Family Fun Magazine.
You may also like:

