How to Make a Laminated Alphabet

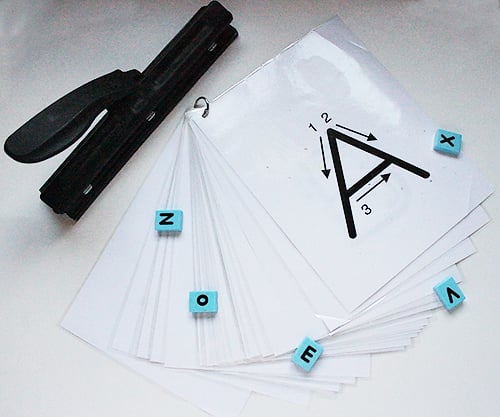
One of the most effective tools I have for teaching my kids letter recognition has been a simple laminated alphabet. This cost me under $5 to put together and we’ve used it for numerous activities, from making play dough letters to tracing over each letter with a white board marker.
This is so easy to make and it’s perfect whether you’re a homeschooling mom or a mom of a preschooler who needs a bit of letter recognition practice. We use this all the time to keep my 4 year old occupied during the day so I can work with the older kids.
Supplies
The materials you need to make this are simple.
- Computer Paper
- A Clear Font – You wan’t one that preschoolers can easily recognize so avoid anything too fancy
- 1 Loose Leaf Ring – This can be any size you want
- Hole Punch
- The Ability to Laminate – You can use a laminator for this if you have one. I just took my printed pages to a school supply store and paid a few dollars for them to laminate the pages for me. In a pinch, you can slide each page into a sheet protector and put the entire thing in a 3 ring binder.
That’s it!
Instructions
Find a font that will work for your preschooler. I wanted something that emphasized the correct starting and ending points for each letter so my kids could practice correct letter formation. I have some font recommendations here, but if you have a favorite, any font will do.
Increase the font size so that each letter is as large as it can be and fits one letter to a page. Once you have formatted your letters the way you want them, print the entire alphabet.
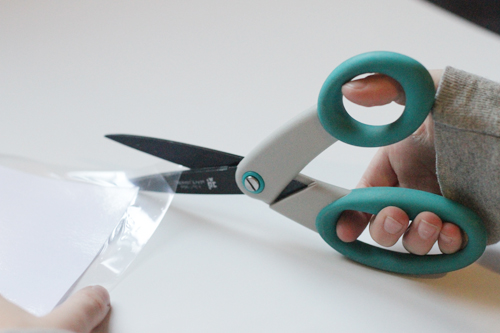
At this point, you’ll laminate your alphabet pages. If you don’t have a laminator, most school or office supply stores will do this for you for a very small fee. This will come back to you in several large sheets. You’ll need to cut them apart and then trip around the edges.
Put your alphabet pages in order (this is a great activity to do with your preschooler!) then be sure they’re lined up evenly. You may need to trim some extra edges if you missed any at this point.
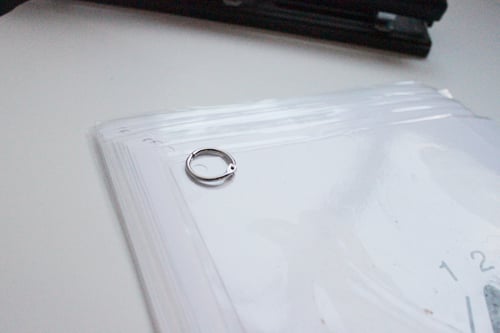
Use a hole punch to put a hole in the top, left hand corner of each page. I improvised and used a 3-ring punch. You’ll probably need to do this in several smaller stacks.
Put all the pages onto your loose leaf ring and your laminated alphabet is done!
Some of our favorite activities to do with this are:
- Trace the letters with your finger
- Trace the letters with a dry erase marker
- lay Wikki Stix over the top of each letter
- Make dough letters with play dough snakes
- Take the pages off the ring and put them in alphabetical order
- Pick a letter and find objects around the house that start with that letter
- Use a dry erase marker to draw pictures of objects that start with each letter on the each letter page
How would you use your laminated alphabet?


