How to Make Egg Tempera Paint

Egg tempera paint is extremely easy to make and gives you a nice shiny finish on your project. Kids can help make the paint (and practice their egg cracking skills) and this is a great way to use up expired eggs.
Just don’t forget to have kids wash their hands afterwards — you are working with raw eggs.
We used our homemade egg tempera paint to make shiny pumpkin pictures. Making their own paint was just as much fun for my kids as painting the picture and it was a fun way to switch things up from a standard painting session.
Supplies Needed
Egg yolks – You can show kids how to separate the yolks by pouring the egg yolk back and forth between both halves of the egg shelf after cracking it.
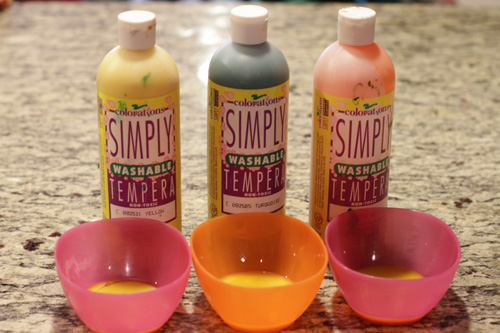
Powdered tempera paint or liquid tempera paint – Either one will do. Just use what you already have. I like the washable tempera paint from Discount School Supply. The stuff I have now was purchased years ago when I was running a home daycare and it still works great.
A paintbrush
Instructions
Separate your egg yolks and put each yolk in a separate bowl.
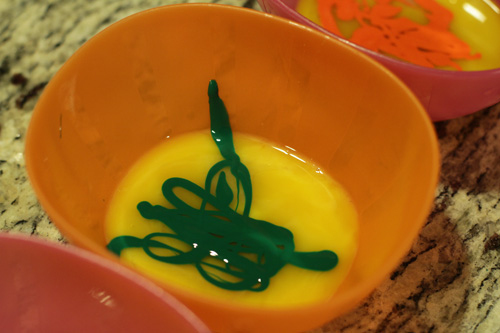
Add your powdered or liquid tempera paint and mix it together. You’ll want to be careful that the paint doesn’t dry on the brush because the egg will work like a glue and be difficult to wash off once dry.
You don’t need much paint in each bowl. Once mixed you should have a nice bright color.
Use the paint immediately to paint your picture then allow to dry on a flat surface overnight.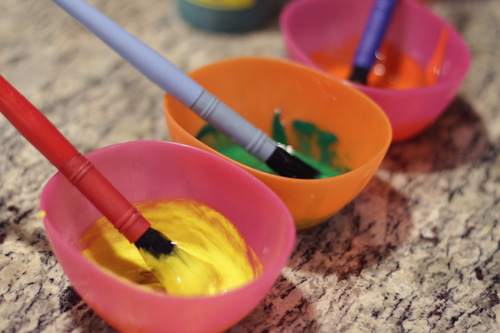
Be sure and remind your kids to wash their hands when they are done because you are working with raw egg.
The end result has a great, shiny finish and if you are using eggs that would otherwise be thrown out after their expiration date it’s a very frugal art project for kids.
You may also like:

