How to Start a Blog (with Step-by-Step Instructions)
Have you been thinking about starting a blog? If you have, you may be a bit overwhelmed by everything that is involved in getting a new blog set up.
The good news is it’s not quite as overwhelming as it seems. Speaking as someone who tends to be a bit technically challenged, I promise, if you want to start a blog, you can do this.

I’ve been blogging and working from home for over ten years and, what started as a hobby that gave me an outlet while I was a new stay at home mom with young kids turned into a career that now fully supports my family of 8.
Blogging has been an amazing work at home job for me and there’s so much potential for you too.
Do you have a topic you are passionate about? If you aren’t afraid of a bit of hard work, you can create a blog that will help you earn an income from home while doing something you love.
Ready to get started?
To start a blog you need:
- A domain name
- A hosting account
- A wordpress theme
Choosing the right domain name is so important. Take the time you need to make sure that you choose a domain that fits what you’d like to blog about, is memorable, and is available (which can be tricky).
Once you have a domain name in mind, you are ready to create a hosting account. For new bloggers, I recommend going with BlueHost. They are easy to work with and their tech support is fantastic about helping you when you run into problems.
1 – Sign up for Hosting
Go Here to sign up for hosting through BlueHost. If you sign up through that link, the cost is the same to you and I’ll give you a free 15 minute consultation to help you get your blog up and running. Just email me here to let me know when you’ve signed up.
Once you get to BlueHost, click on the big green “Get Started Now” button to get going.

2 – Decide on a Hosting Plan
There are a lot of options when it comes to choosing a hosting plan. For a new blogger, I recommend going with the basic plan. At only $3.95 a month, it’s a great deal and you can always upgrade when your blog begins to grow.
Click “Select” on the Basic Plan.

3 -Register your Domain Name
Hopefully you’ve come up with the perfect domain name now. To register your domain, enter it into the box that says “new domain” then hit next.

4 – Create your Account
Go through the process to create your account.

Once you have your basic information entered, you’ll need to select your package information.
You get the best deal on a 36 month package. One thing to keep in mind though, is you will be charged for the entire 36 months upfront. You are prepaying for your hosting, which helps BlueHost give you a great deal but it is a bit out of pocket in the beginning.
They offer several other surfaces. Don’t worry about those right now. The only one I’d consider is the “Domain Privacy Protection” option. This hides your personal information (name, home address, phone number) from anyone who looks up your domain name.

Enter your billing information and hit submit.
At this point, they may offer you additional upgrade options. Just decline those right now.
5 – Set your password
You are officially a BlueHost customer now. Go ahead and enter a password. Be sure your password is secure. If you need help creating a secure password (or keeping track of your passwords) be sure and check out LastPass. Discovering that was life changing for me as a work at home mom.

6 – Login to your Account
Now that your account is officially set up, you can login for the first time. Be sure that you have “hosting login” selected and not “webmail login”.

7 – Install Wordpress
To start blogging, you will need to install WordPress. WordPress is free and it is considered the best platform available for blogging.
When you first login to BlueHost, you’ll be shown a welcome message asking you if you need help. Since I’m taking you through your blog set up step-by-step, you can just close that window.

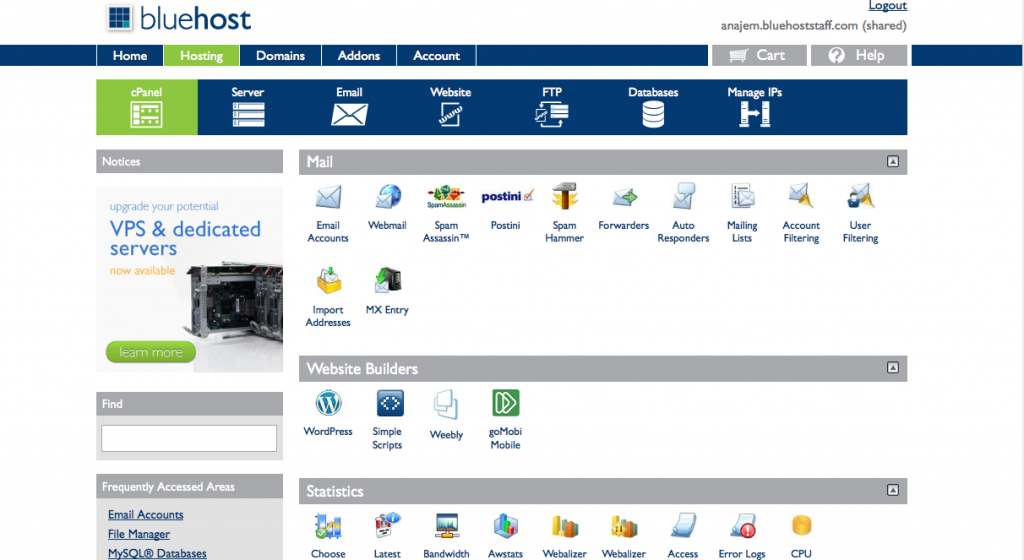
This is your BlueHost account dashboard. You’ll be using this quite a bit and you’ll quickly begin to learn where things are.
Search for “Install WordPress” then click on it.
The WordPress Installation screen will pop up. Click “Install”.

Choose the domain you would like to install WordPress on. Since you have only one domain, that’s all that is going to show up here.

A status bar will pop up as WordPress continues the install.

The final step of the installation requires you to name your website and set up a login and password for WordPress. For the Site name, you can enter your domain name. This can be changed later if you’d like to put in a tagline, but for now, keep things simple and just type in your domain name.
Choose an admin username, password, and email address, then click “Install Now”.

When WordPress has finished installing, the screen will give you a notification letting you know that the install is complete.

8 – Check your Email
Now your Wordpress install is complete. Go check your email. You should have an email from Mojo Marketplace. Be sure and save this email. It includes your login information for WordPress and information to help you access your new blog.

9 – Login to WordPress
Click on the Admin URL in the email you just received. This will take you to the WordPress login screen for your site.
Bookmark this page. You’ll be using it every time you want to login to your blog.
Enter the username and password that you set up a few minutes ago.

This will take you to your WordPress dashboard. This is where you will log in to every time you want to create or edit a blog post.
You can stop here and start blogging or you can move on to the final step and change the appearance of your blog.
10- Install a WordPress Template
WordPress comes with a default theme that is very functional but not very pretty. If you want to make your blog look better, I’d highly recommend installing a theme.
There are free themes available, but many of them include coding errors that can cause problems with your blog’s SEO and other issues.
I have used the Genesis Framework for all my sites for quite a few years. They are easy to use and allow you to customize quite a few things and they don’t have any of the coding errors that the free templates have. They have quite a few templates available through Studio Press (the create of the Genesis Framework).
If you want something that is a bit more feminine and stylist, I’d go with a child theme by Pretty Darn Cute Designs (the creator of my theme) or Restored 316. They have some amazing themes available and they are all pretty affordable.
To install your theme, click on “appearance” in your left sidebar on your WordPress Dashboard and select “Themes”.
From that screen, select “add new” and install your new WordPress Theme.
Ready to Start Blogging?

Now that your blog is set up you are ready to start blogging. Start creating some amazing content and building your social channels.

YOU MAY ALSO LIKE THESE POSTS ABOUT BLOGGING:
- Blog Income Report: How I Made Over $10,700 Last Month Working from Home
- Best Resources for Work at home Moms
- How to Start a Blog When you Have No Free Time