
Refreshing a Teen Bedroom for Under $100
Thank you HGTV HOME™ by Sherwin-Williams for sponsoring this post. Visit HGTV HOME™ by Sherwin-Williams for the latest in color inspo and get started on your home project today!
Do you have a room in your house that needs a bit of a refresh? Redecorating a room can be expensive, but refreshing a room can make a huge difference. My teenage son had a bedroom with no color or personality and it needed a bit of a refresh to make it his own. We were able to create a teenage bedroom that was perfect for him and we did it all for under $100.
For years, I’ve had people look at my 6 kids and tell me, “just wait until they are teenagers.” I heard all the negatives and, as a former teacher in a residential treatment center, I was sure the teen years were not something I was going to enjoy.
No one told me how much fun the teen years can be, though.
I’m sure we’ll run into some issues here and there (there’s always some not-so-fun parts of every stage), but at the moment, I’ve really been enjoying having a teenager. My son is fun to hang out with and he’ll watch movies that don’t involve animated characters with me after the littles go to bed.
Being the oldest of 6 kids, he gets stuck with a lot of extra responsibility, but he’s a good sport about it. He’ll cook, clean, babysit and do whatever else needs to happen whenever he’s asked (I keep telling him he’s going to be in trouble once girls find out about all that he does).
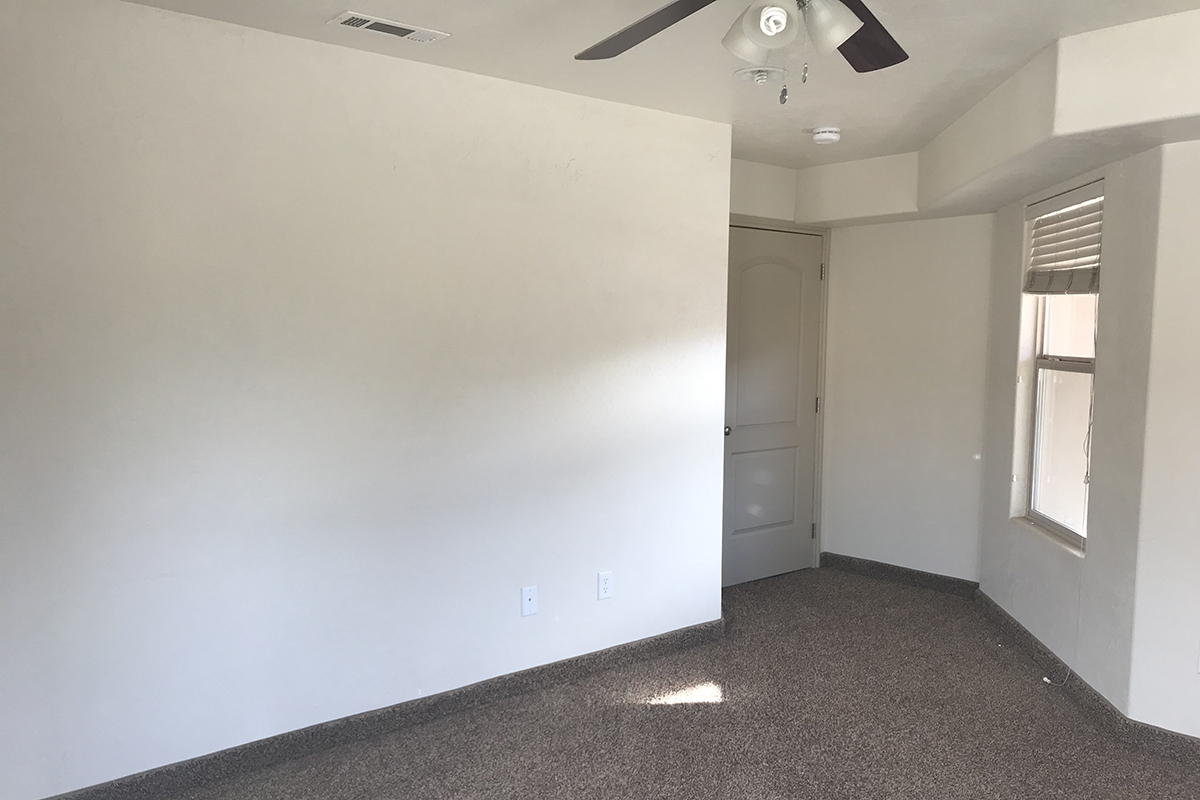
He recently switched bedrooms in our house and the space was great but with all neutral colors and no decor, it was lacking in some personality.
With all that he does for me, I wanted to give my son a space that could really be his own. We got to work and were able to put this room re-do together for under $100!
Before I show you the project, I have to tell you I’m a new DIY’er. I love it, but I’m definitely not an expert so I was looking for ways to change up the room that wouldn’t require a lot of special tools or experience.
The first thing we did was hit up our local Lowe’s for some advice. Our Lowe’s has a great paint department manager and she went through every step of our project with us and helped us find the right tools for the job and gave us some great tips for getting it done.
I told her I didn’t want to add any extra steps to our project so she made sure we had products that really simplified the process.
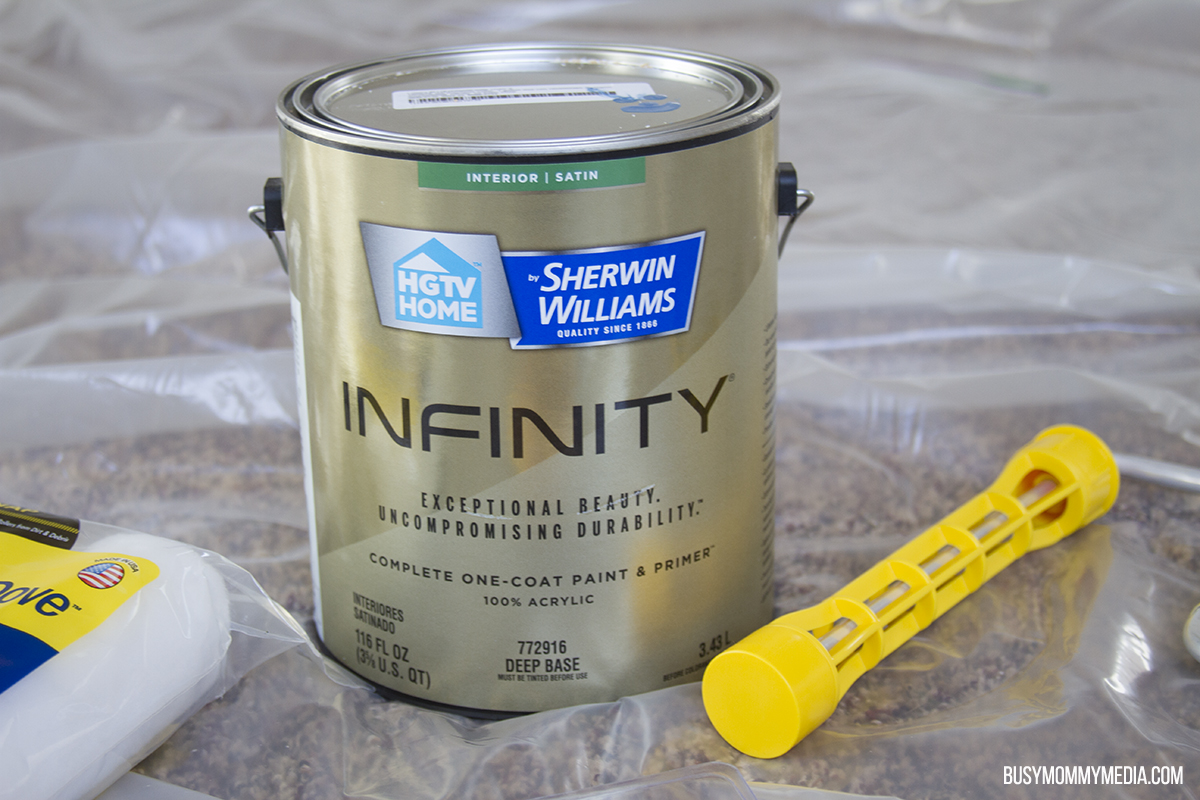
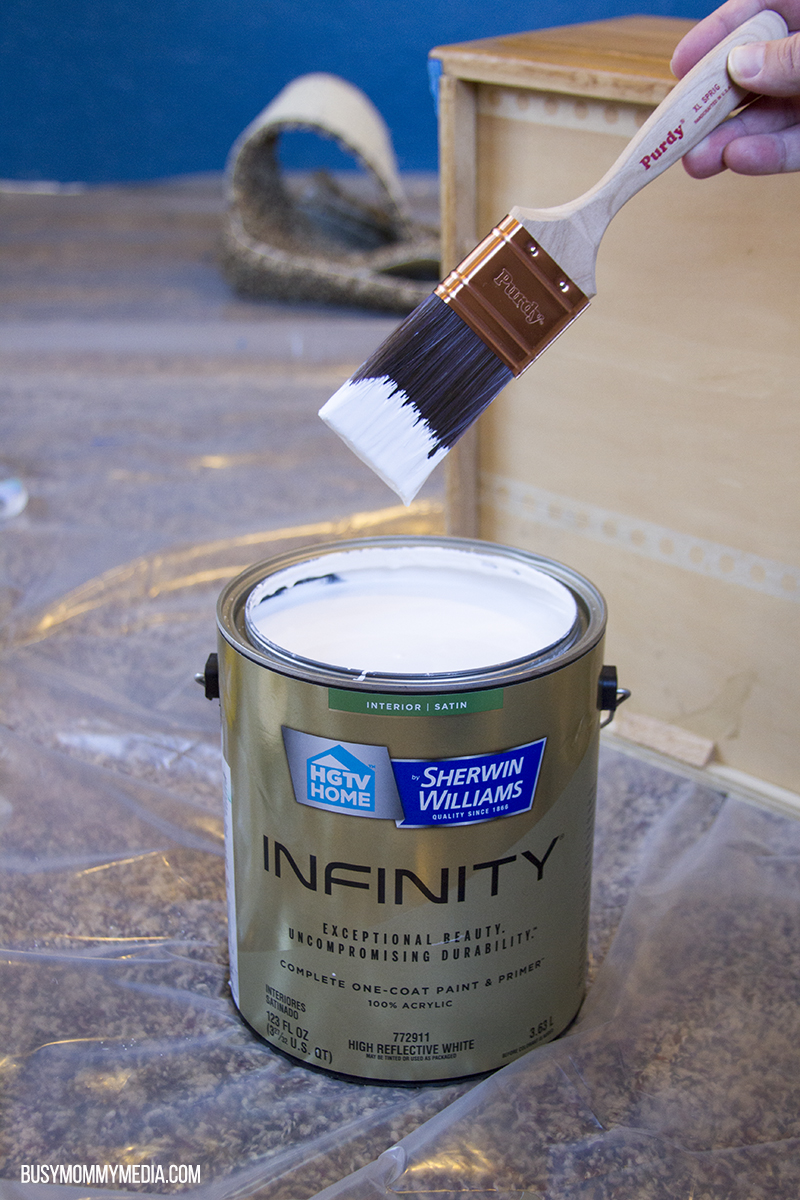
We went with a color from HGTV HOME™ by Sherwin-Williams 2018 Color Collections of the Year and used the INFINITY Interior Paint and Primer. I loved that the primer is built right in and you only need one coat of paint (that definitely came in handy in ways we didn’t expect later on).
With four on-trend Color Collections of the Year from HGTV HOME™ by Sherwin-Williams, it’s easier than ever to bring harmony to your home. Each Color Collection has a range of colors that go together in any combination, helping take the guesswork out of choosing color and giving your home a sense of room-to-room harmony. All you have to do is choose the designer-inspired look you want to achieve from themes like Next Journey, Future Thinker, Thoughtful Living or Individual Mix.
These four designer-inspired Color Collections of the Year are unique to HGTV HOME™ by Sherwin-Williams with palettes of 8 colors that work together in any combination.
The color we chose was Georgian Bay (HGSW2362) a color from the Thoughtful Living Color Collection. I wanted something vibrant for his room. We chose to do one accent wall and left the other walls as they were. We knew the colors would work well together because they are represented in the Color Collection, so it made coordinating colors simple.
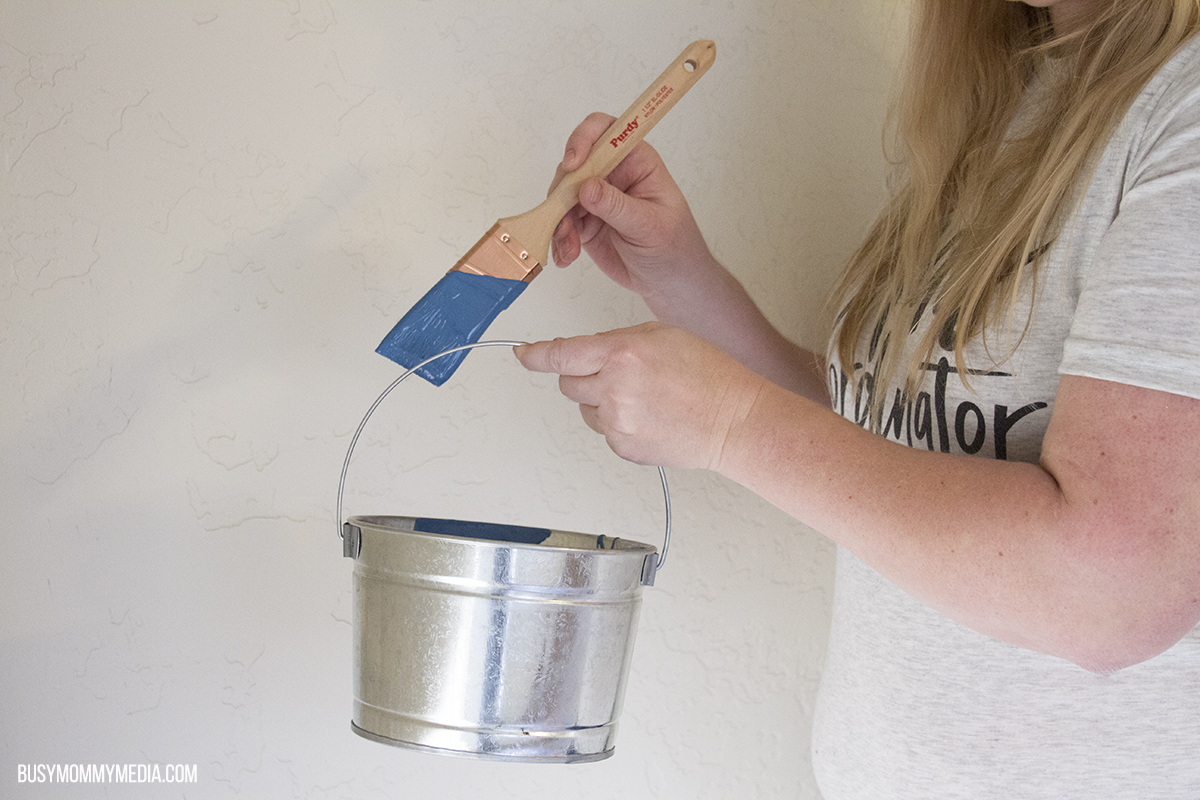
Because I wanted something foolproof, we went with Purdy brand paint brushes and rollers. The last time I painted, I took no thought for the brushes I used and I regretted that. I had brush strokes like crazy and they weren’t fun to work with. 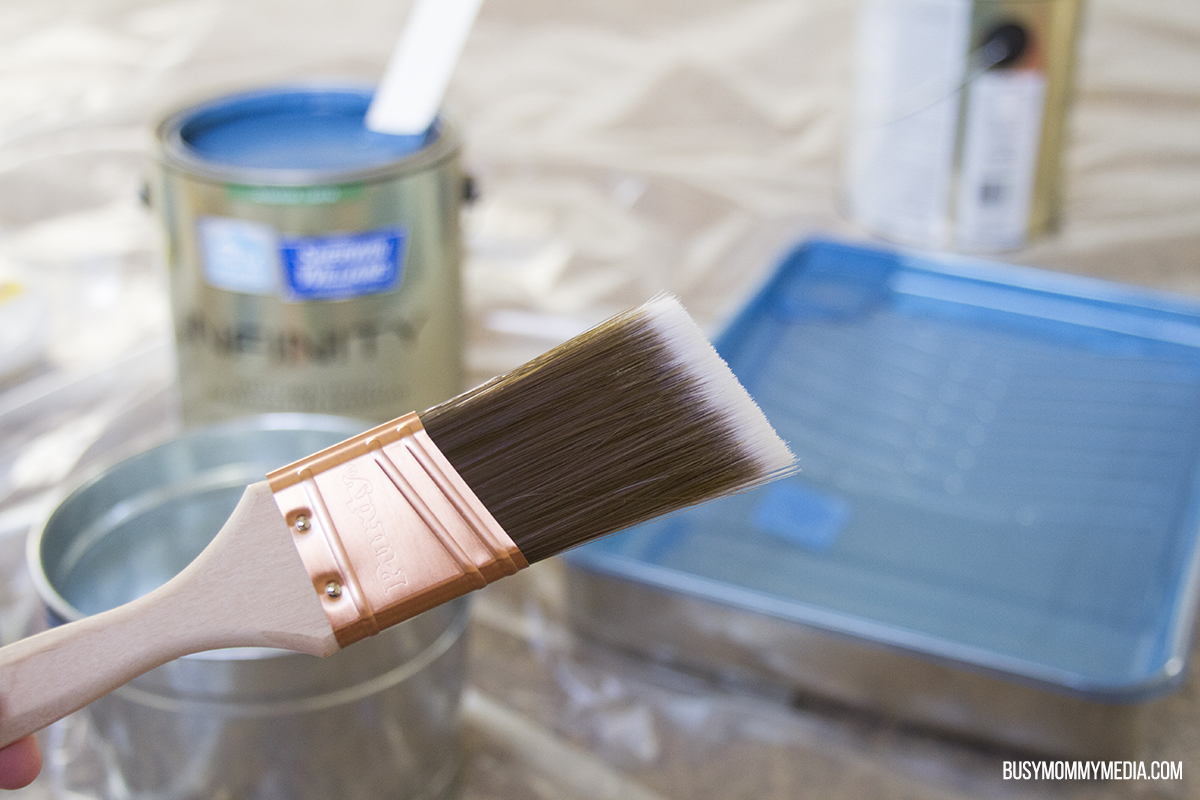
The Purdy brushes put the paint on so smoothly and they were great to work with.
Wondering how I finished this project in under $100?
With 6 kids, I’m always looking for ways to stretch our budget a bit further, so I knew going into this room refresh that I wanted to stay on budget. There were a few tricks I used to do this:
- Use what you have. I didn’t think I had much to work with but as I went around my house, and thought about how I could use things in different ways, I was surprised at how many options I had.
- Shop the sales. For the pieces I didn’t have, I hit up my local stores. I was able to find some cute pillows (that perfectly matched Georgian Bay (HGSW2362) a color from the HGTV HOME™ by Sherwin-Williams Thoughtful Living Color Collection), for only $6 on clearance. They are technically indoor/outdoor pillows but they look great in the space and I know they’ll hold up well over time.
- Repurpose current furniture. This one was huge for me because I knew that buying new furniture would put me over budget. The dresser set my son was using had good bones, but had some dings and the color of the wood made it look a bit dated. We took care of that with a new coat of paint (more on that later).
- Buy good quality paint. I’ve had painting projects where you find yourself putting coat upon coat of paint on walls and not getting the look you want. In some cases, the paint didn’t cover up previous paint (or wood grain in furniture) and I ended up using a lot more than I thought I would. With the HGTV HOME by Sherwin-Williams INFINITY paint, I really did only need one coat. It has the primer built right in so I didn’t even have the extra cost (or time) of primer.
Teen bedroom refresh
To get started on our project, I first needed to clear the room. We pulled absolutely everything out and laid down a drop cloth across the entire carpeted space. We knew we would have kids helping with the project and we wanted to make sure that the carpet was protected. We used masking tape to secure it to the floor and make sure it wouldn’t move.
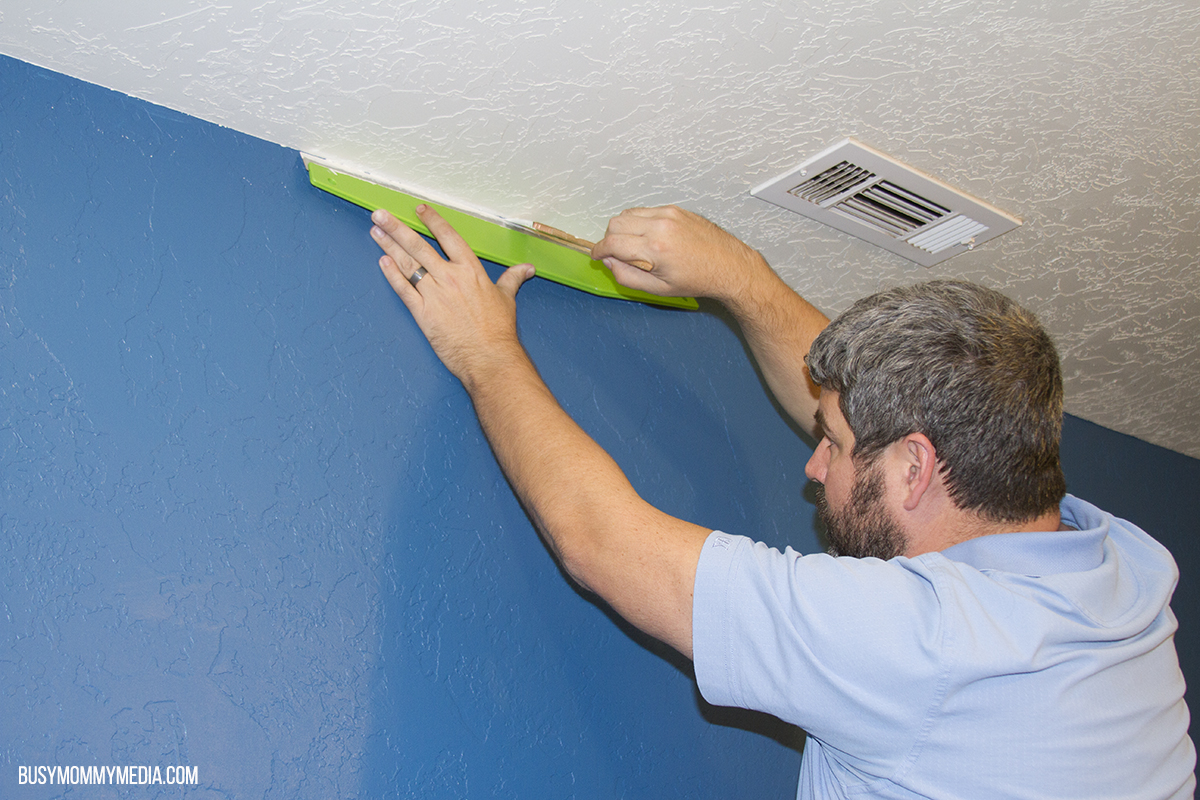
Then, we got to work painting. First, we taped off the edges really well . . . or so we thought.
We didn’t do a great job sealing the tape to our very textured walls so we had some lines we had to clean up later. Be sure you push the tape firmly in place (use a paint scraper to get a tight seal) and you’ll avoid the extra step of cleaning up lines after you are done painting.
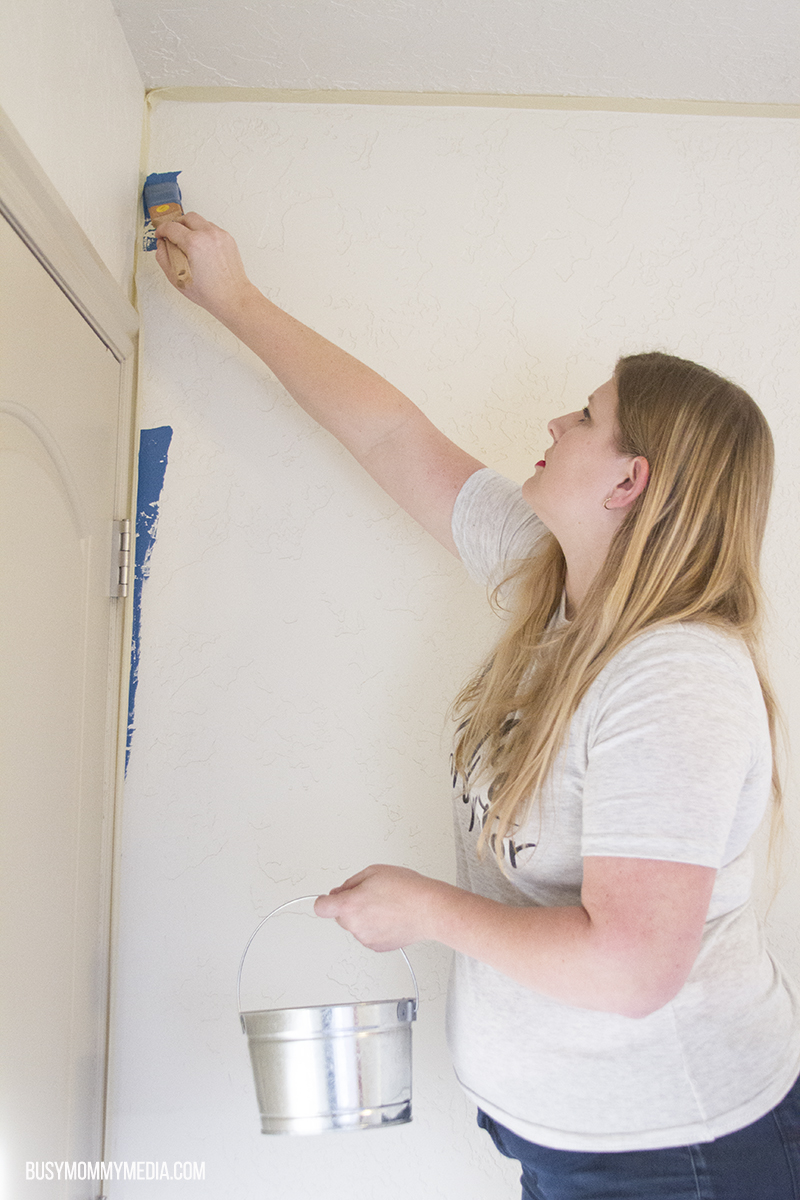
Use a Purdy paint brush to paint a line right up next to your tape. Pull your tape off as soon as you are done painting the edges. This was a recommendation from my Lowe’s paint department manager and it was a good one. We didn’t do that for the first section of the wall and our tape stuck.
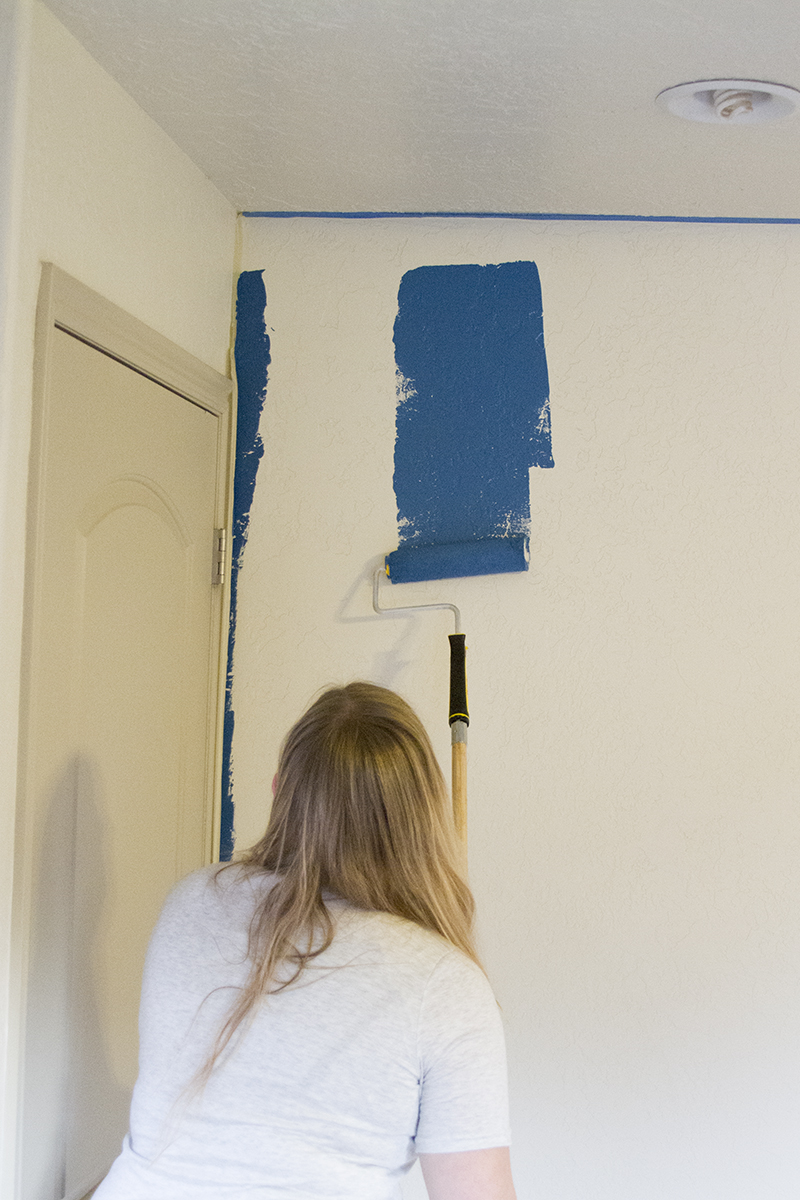
I used a tapered brush (also on the recommendation of my Lowe’s paint lady), then used Purdy rollers to roll out the bulk of your wall.
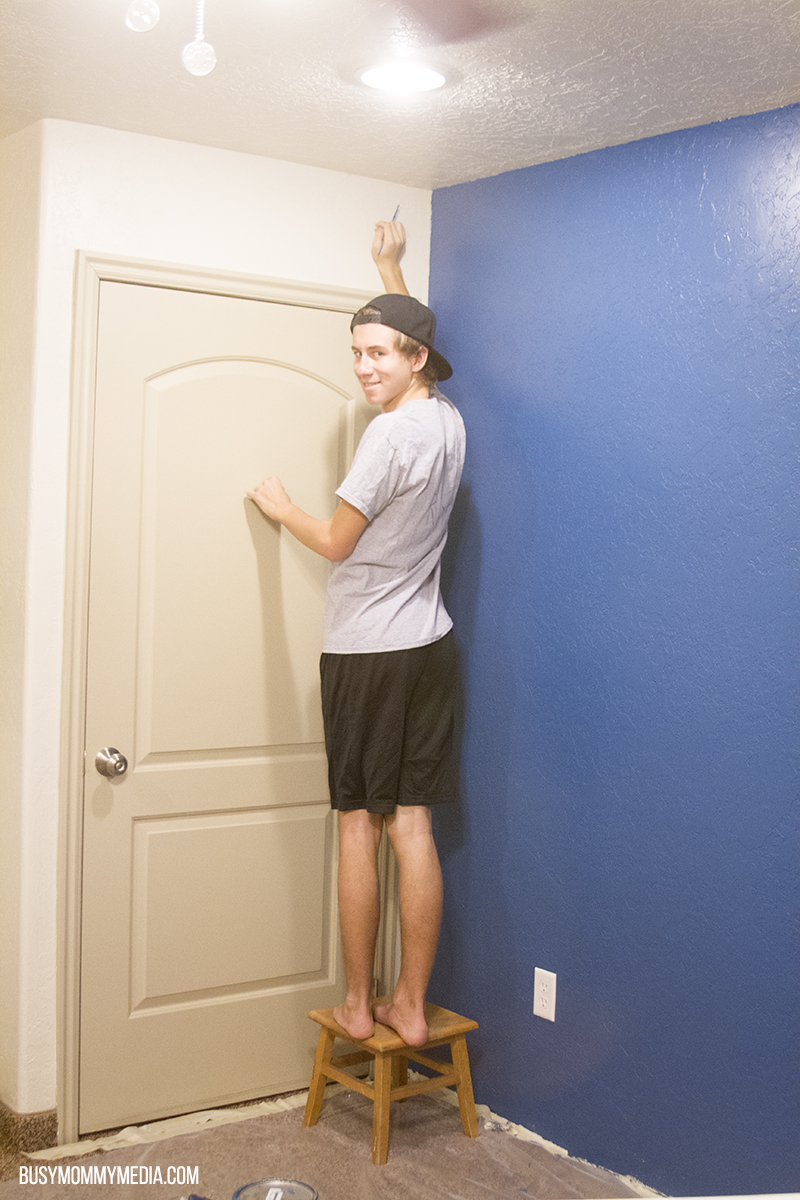
I know painting with kids isn’t usually anyone’s favorite thing to do (trust me, we’ve had our moments), but I really like to include my kids in projects like this so they can learn how to do them.
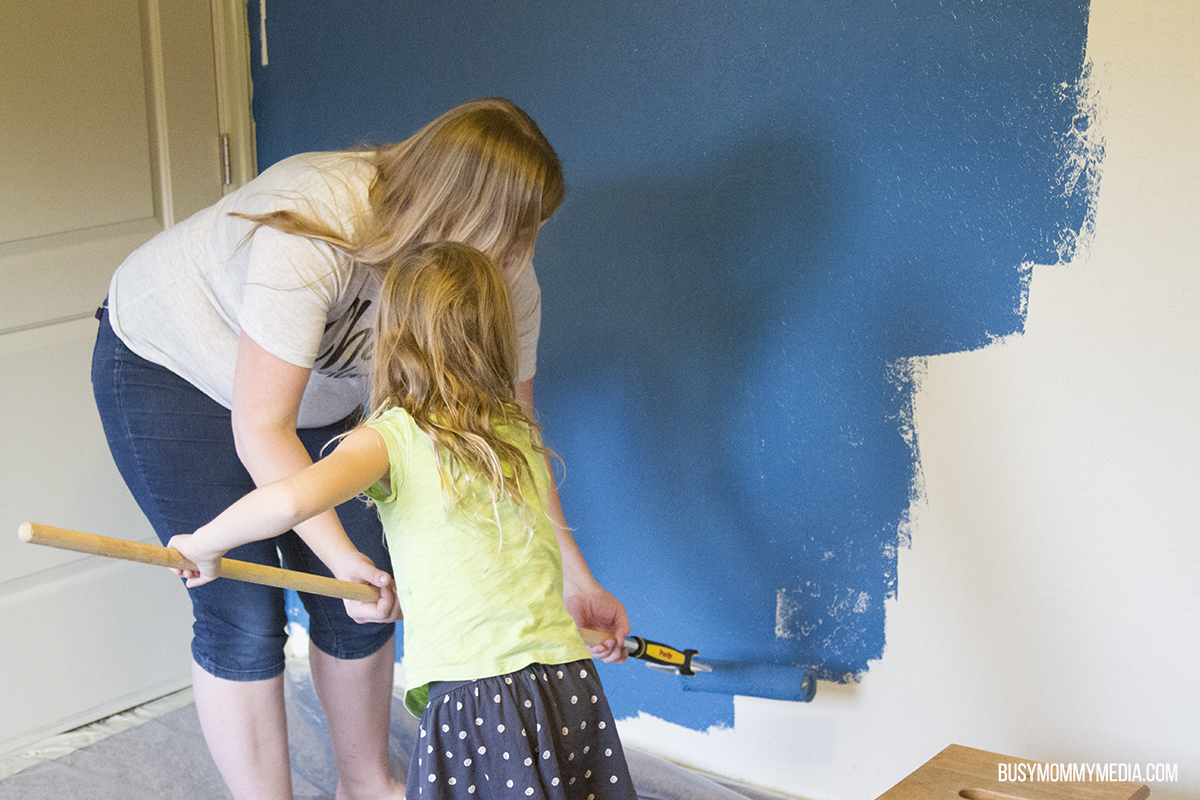
They really enjoy it and I just think it’s good for them to have the experience.
It really helped that my teenager is taller than me too so he could hit all the spots I couldn’t reach and he loved having the chance to work on putting his own room together.
We did tend to work later at night so my twin toddlers were sleeping. They weren’t old enough to really help and I didn’t have the bandwidth to keep an eye on them while painting.
I was so impressed with the HGTV HOME by Sherwin-Williams INFINITY paint (and the Georgian Bay (HGSW2362) color from the Thoughtful Living Color Collection was gorgeous). It was clear as we painted, that we would really only need one coat, which was a huge time saver and cut down on cost.
Remember I mentioned that we struggled a bit with taping on our textured walls? When we were done, we had blue paint on our ceiling. No good.
We ended up color matching the ceiling and getting a small can of INFINITY. We used a paint guide to fix things and that worked so much better. What I was really impressed with was the coverage though. My husband was like, “there’s NO WAY we are going to be able to cover up blue paint with white”.
Guess what? We totally did. We only used one coat too. I’m definitely a fan now.
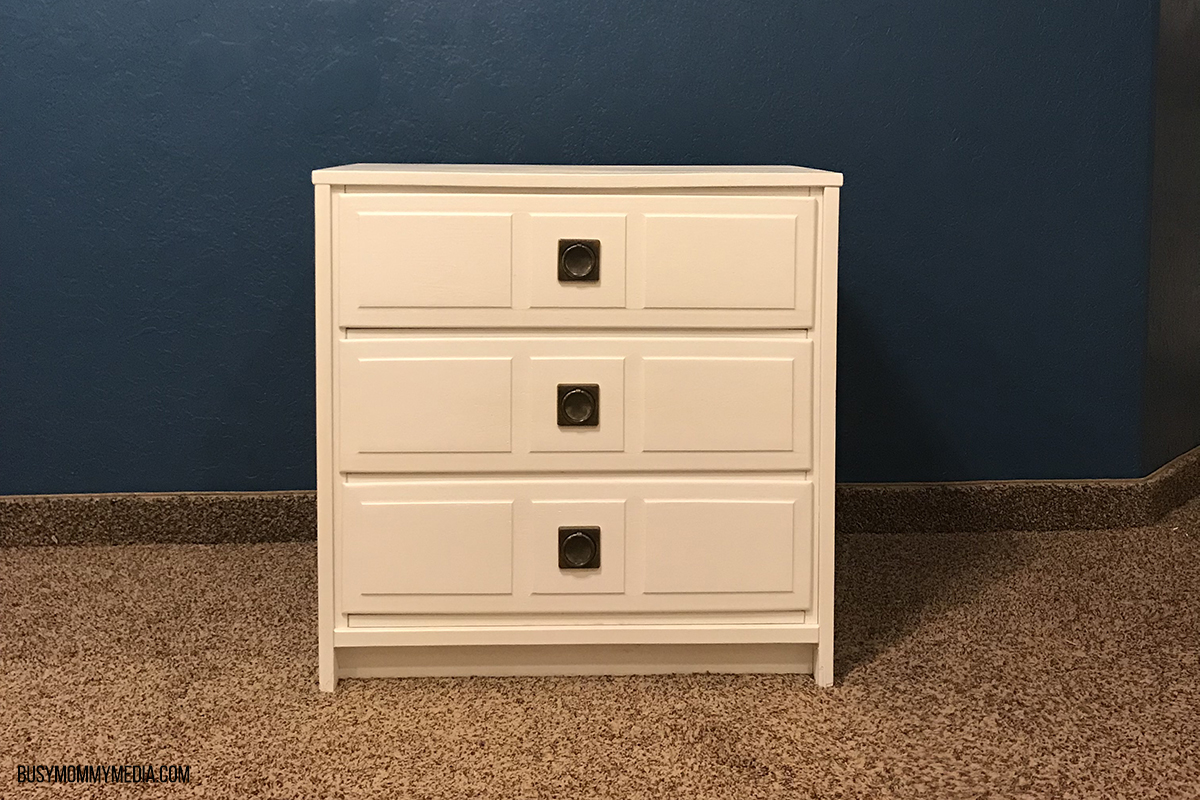
While the wall dried, we looked at what we wanted to put in the rest of the room. My son’s dresser was in good shape but the finish was wearing off a bit and it looked a bit dated.
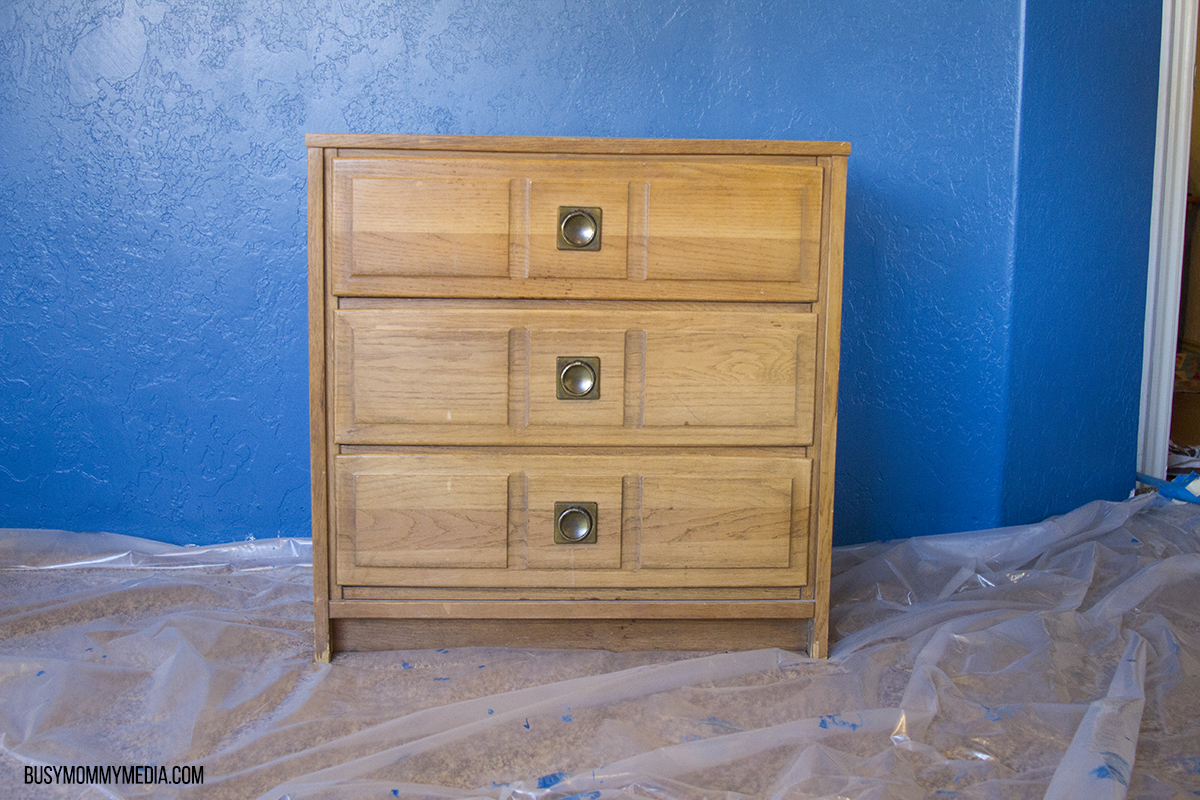
We decided to give it a quick coat of paint using the SNOWBOUND (HGSW4062) a color from the HGTV HOME™ by Sherwin-Williams Thoughtful Living Color Collection. Since it is from the same Color Collection as our accent wall, we knew the colors would look great together.
We lightly sanded it beforehand, then wiped it down with, first a wet, then a dry, cloth to get rid of any dust. After removing the hardware we gave it one quick coat of paint, making sure to paint in the direction of the wood grain.
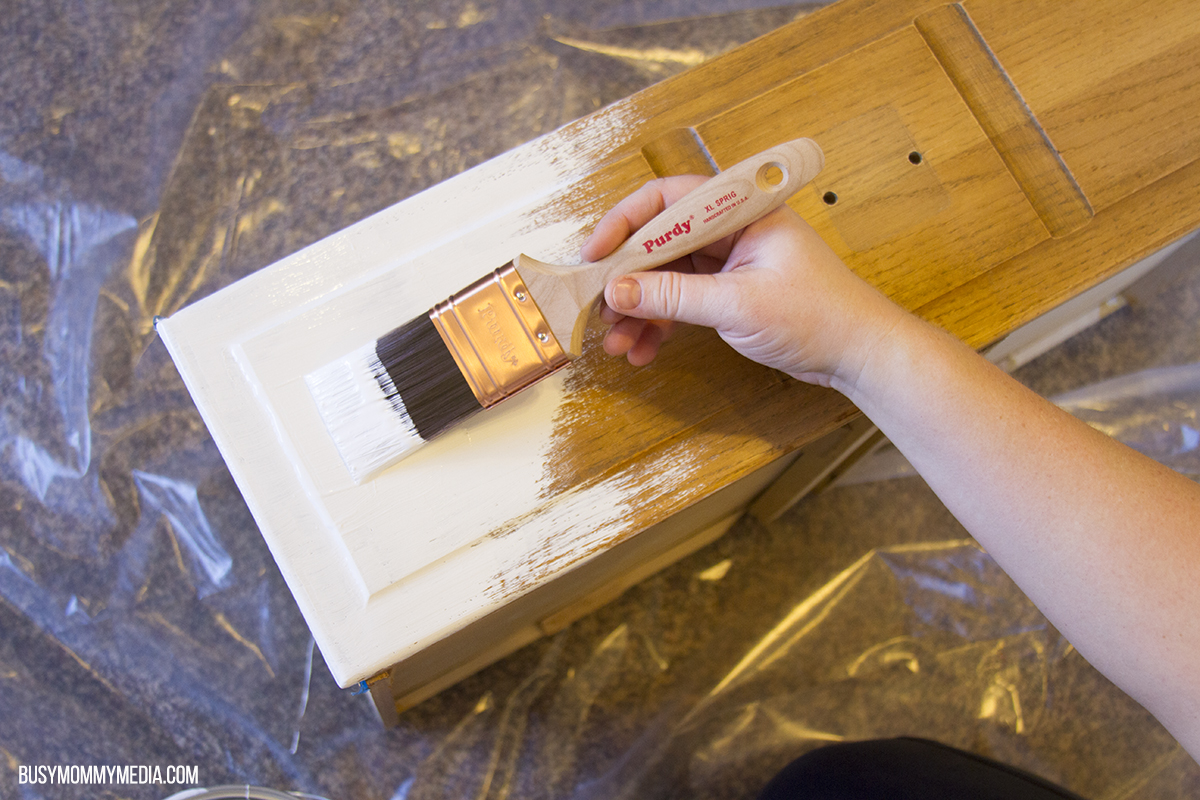
I couldn’t believe the difference it made. It was like having a new dresser and it looked gorgeous in front of the deeper colored wall.
Styling the Room
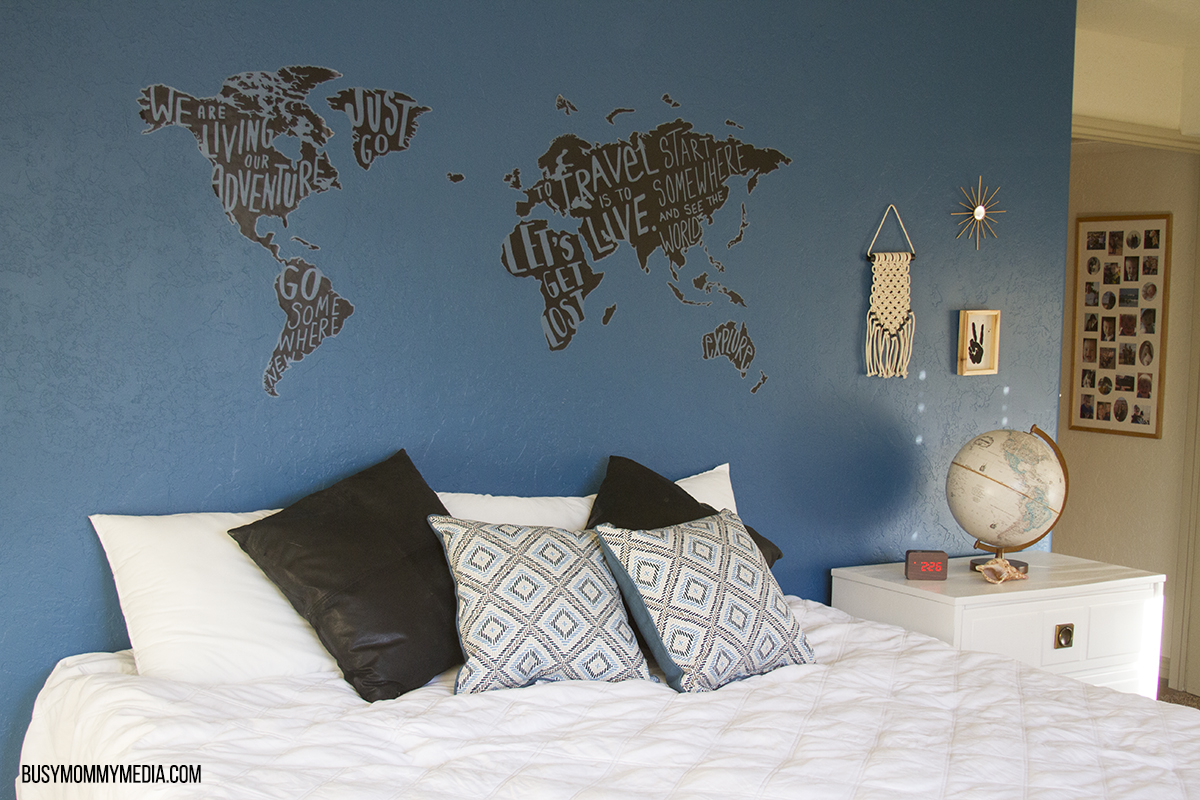
Once we had the painting out of the way, it was time to style the room. I got my son involved in this part of the project because I really wanted the room to fit his personality.
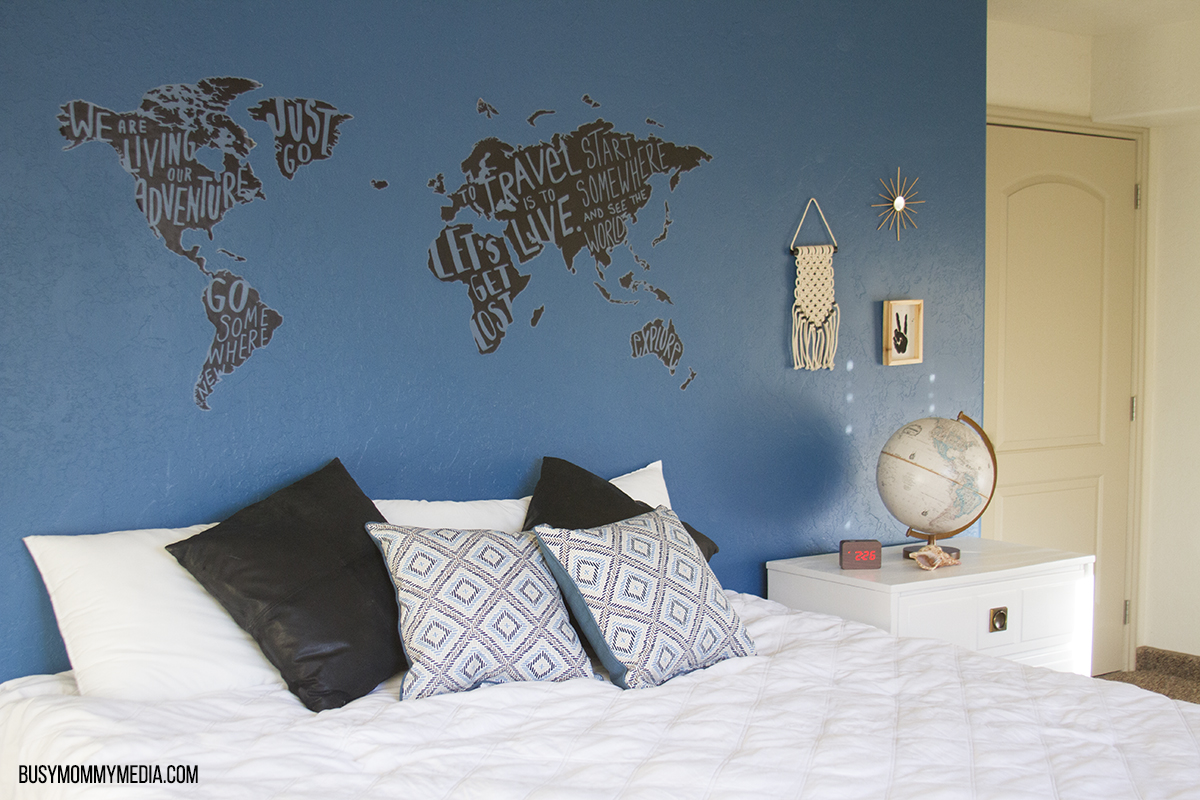
We gathered up some decor from around other parts of the house. He wanted an ocean/travel theme so we pulled out our old globe and found some vinyl wall stickers that we’d been meaning to put up somewhere.
I grabbed a few small decor pieces on sale to put over his new(ish) dresser and found a few extra pillows that went well with the clearance pillows I’d found earlier in the week.
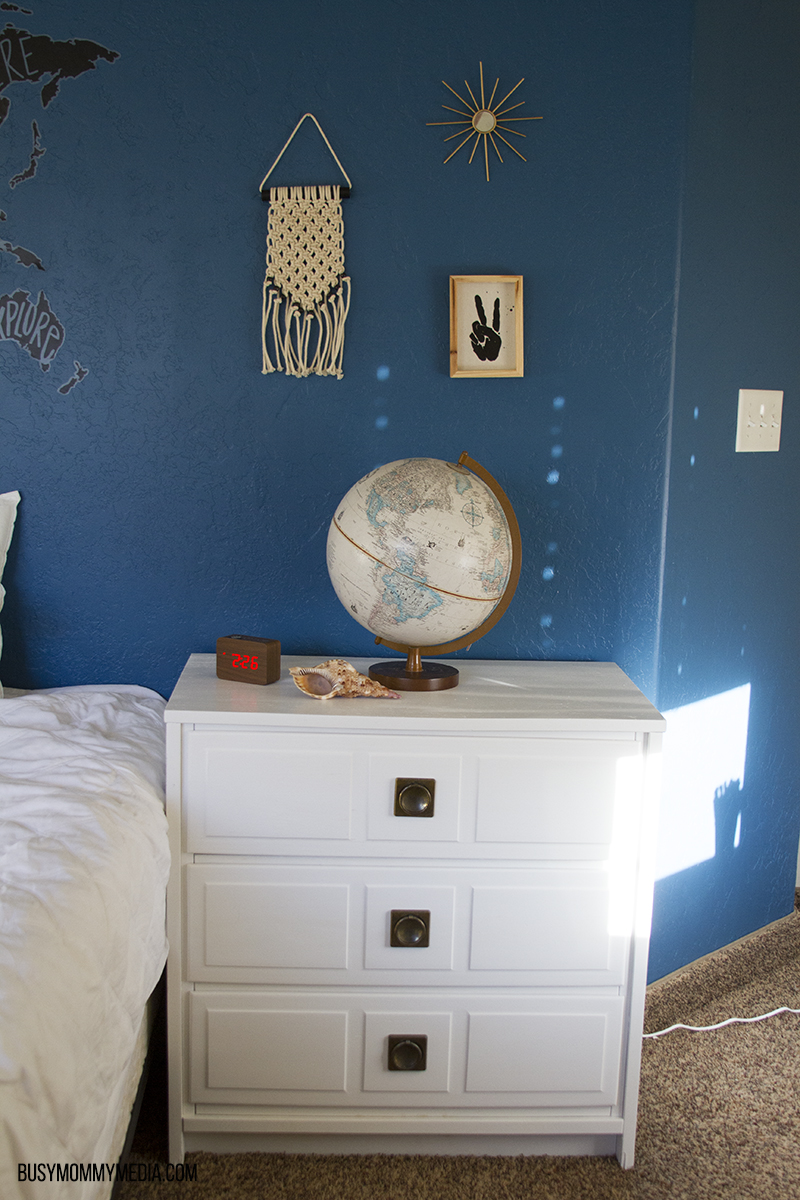
I was really happy with the way it came out and for under $100 and a day’s work, it was really a huge change from what he had before.
Pin it for Later

I was selected for this opportunity as a member of CLEVER and the content and opinions expressed here are all my own.


do you have any ideas for girl tweens or teens just wondering thank you!(: