
Gallery Wall Tips and Tricks
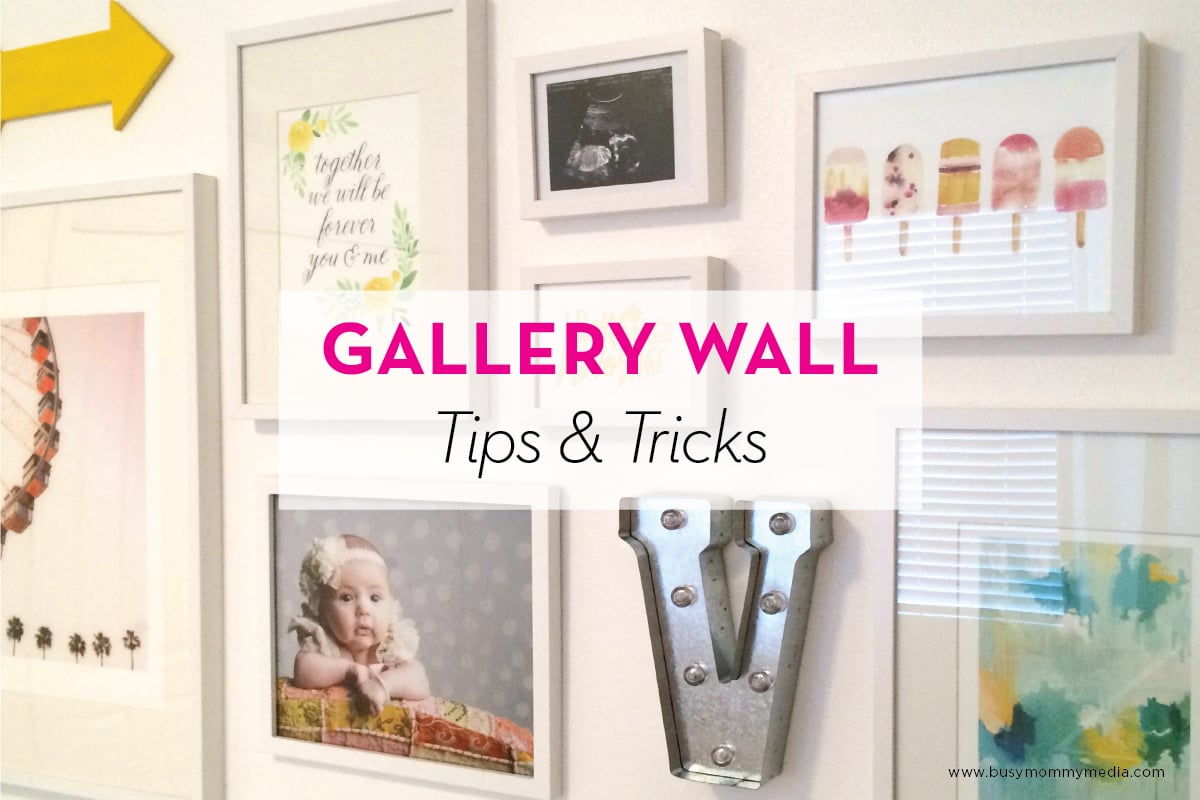
The gallery wall is one of my favorite ways to decorate and it is definitely a trend with staying power. I love that you can showcase multiple photographs or works of art and it can always evolve as your style changes. Putting one together can be a bit intimidating to some so I am going to share with you a few of my tips for creating a successful gallery wall. It’s really easier than it looks!
Where to Start?
Find Inspiration
First I’d decide the style you want to go with. Do you want all your frames the same? Do you want a perfect grid or a variety of sizes and shapes? Pinterest has hundreds of inspiring photos to get you started.
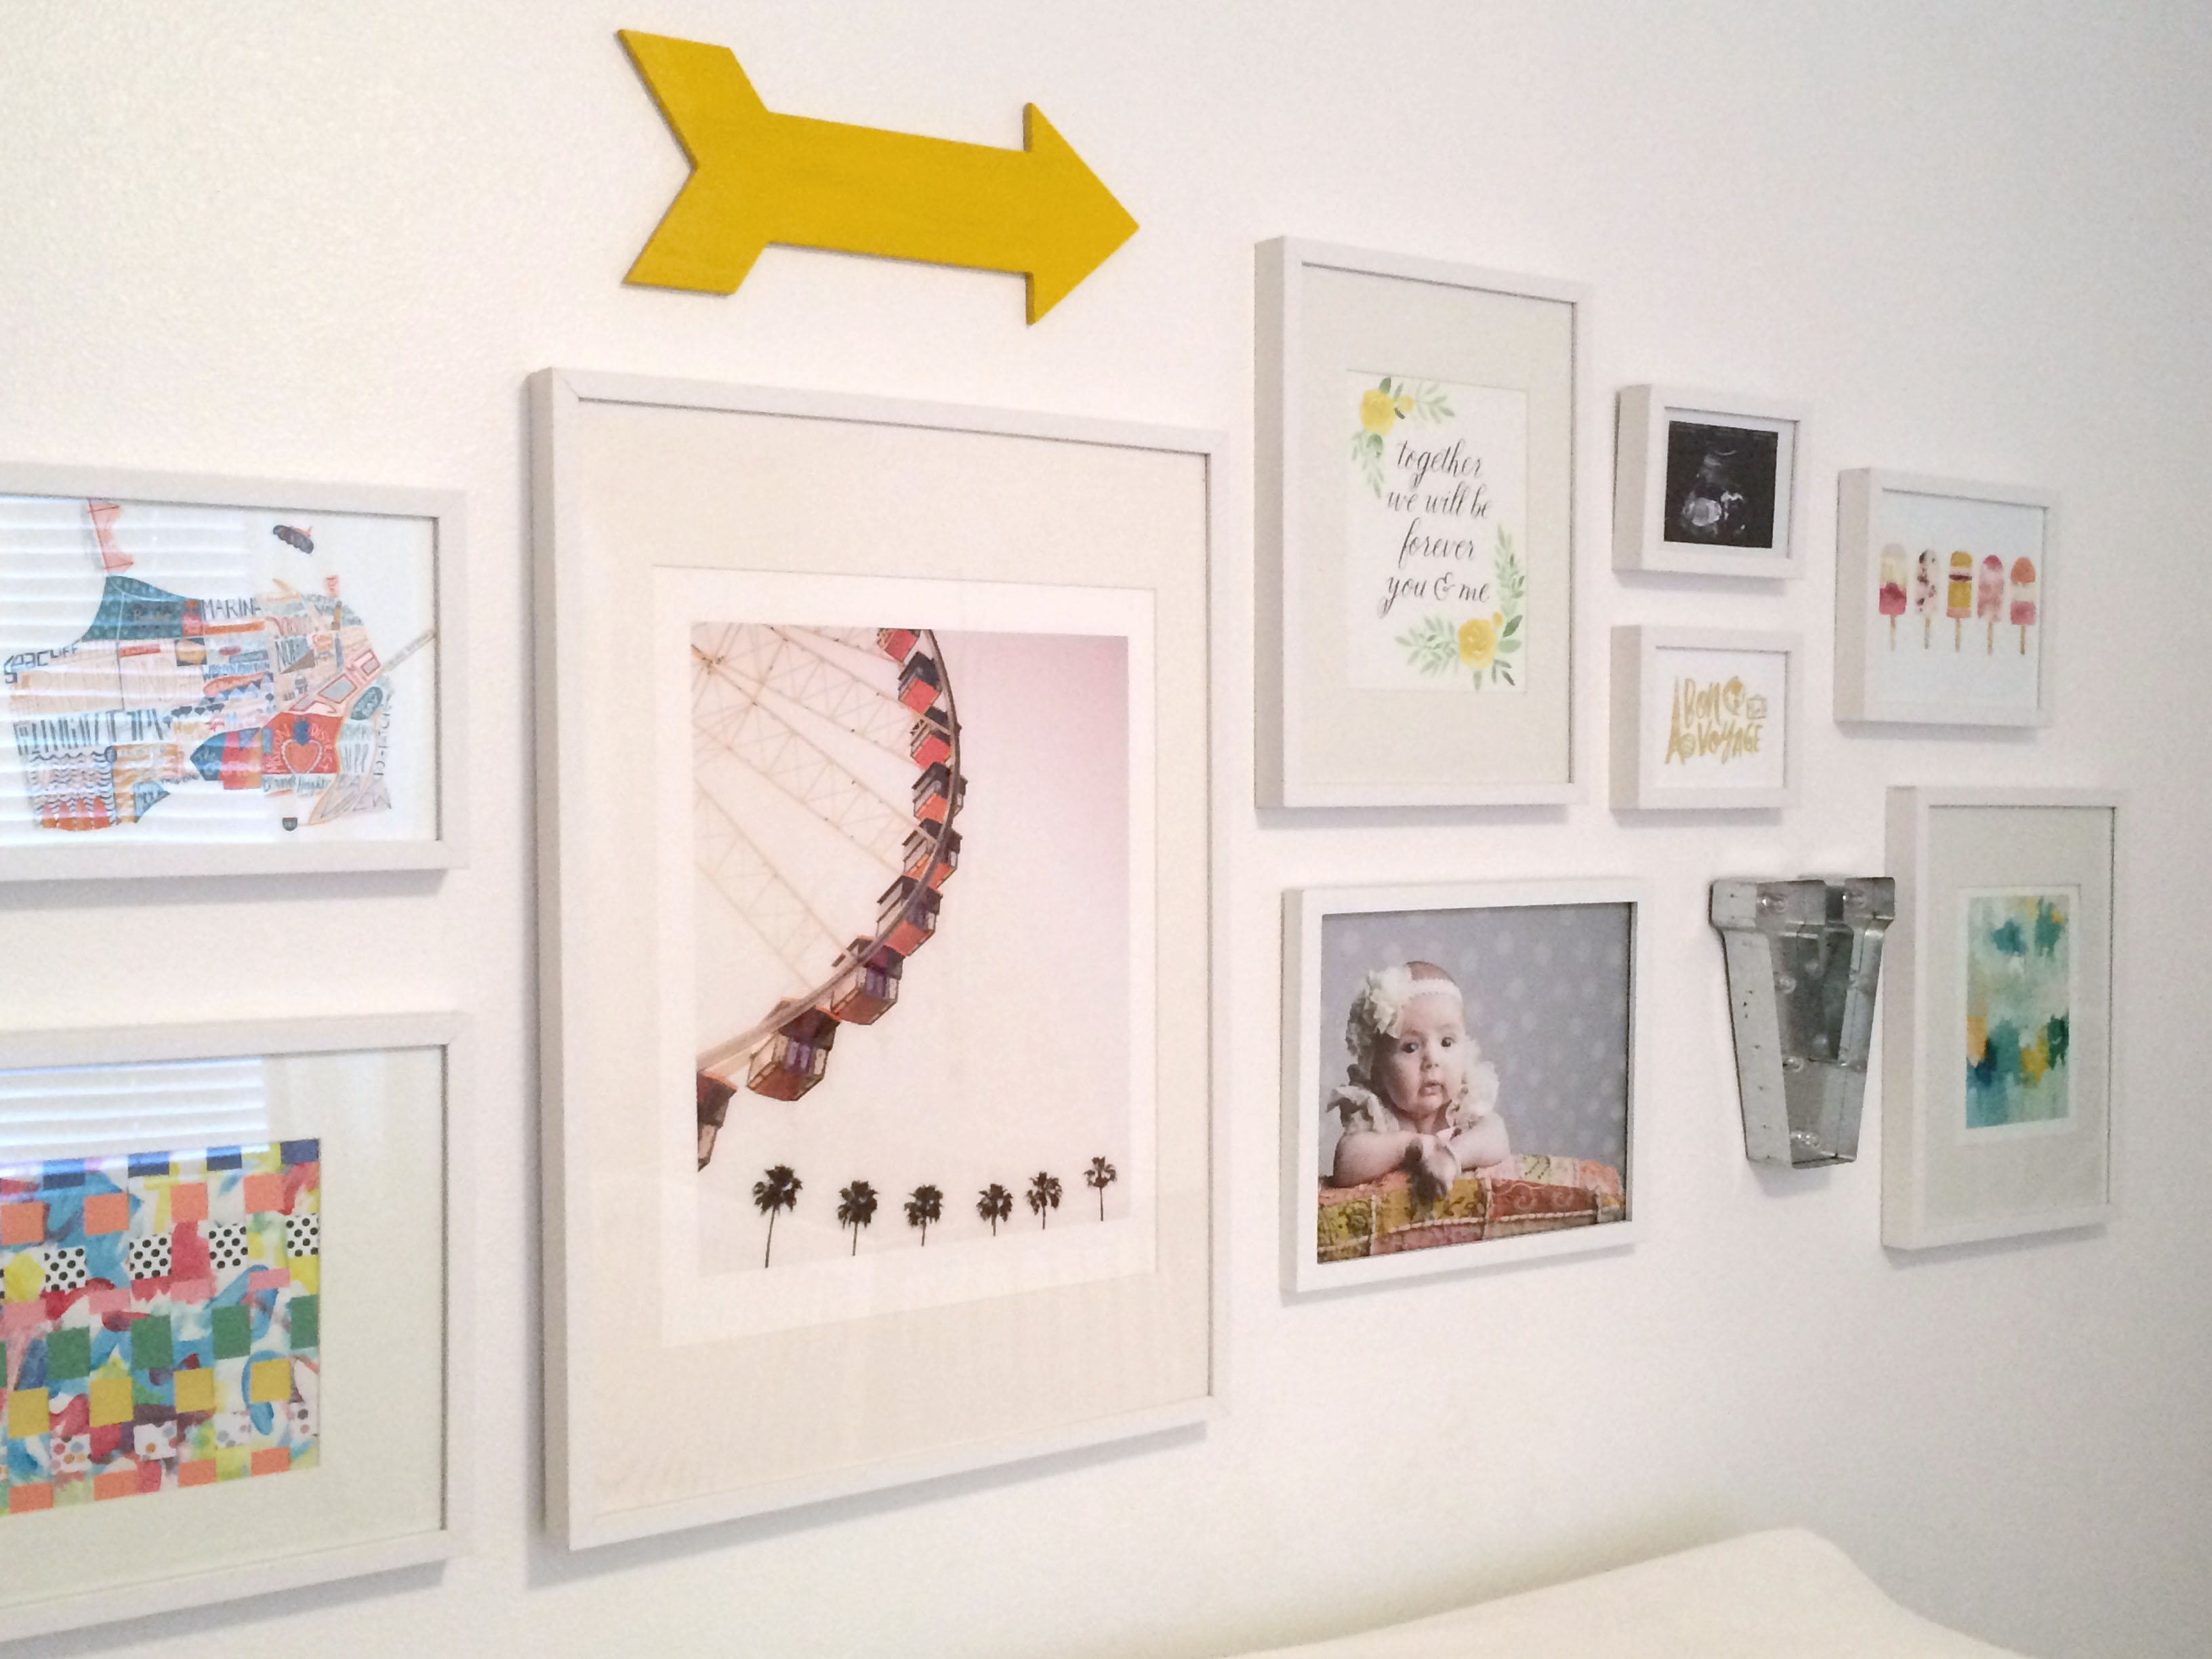
Next, decide what you would like to include on your wall. Will it be all family photos? All artwork? Maybe a combination of both? In my case, I knew I wanted to include some personal items as well as art prints. I also threw in a couple of other items like a marquee letter and an arrow to give my wall more variety in shapes.
Framing
Once you have all your pieces, you will need to get all your frames. My favorite place to get frames is always Ikea. They are cheap but still good quality and I love that they all come with white mats. If you want an even cheaper option, check out thrift stores! I have a gallery wall in my living room that has all thrift store frames ranging from $0.50-$3.00. If you don’t want the mismatched look, you can always spray paint them to all be the same color.
Arranging your Pictures
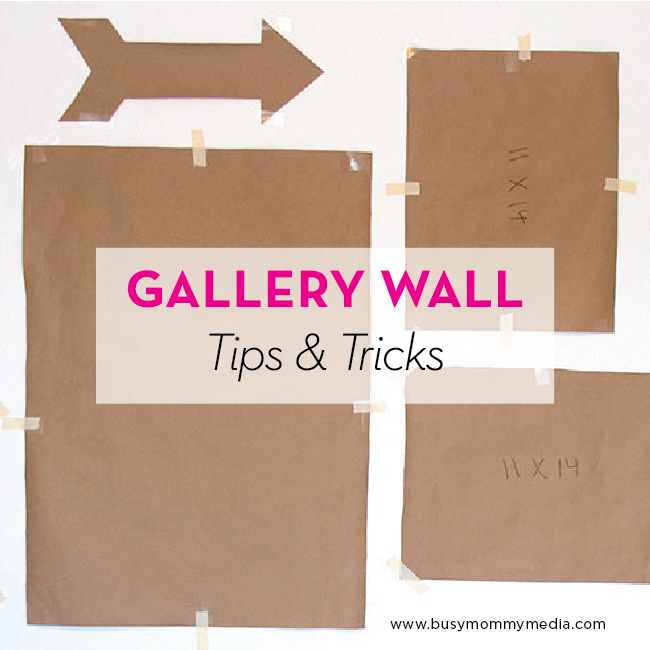
Before putting anything up on the wall, play around with the arrangement on the ground. Once I was happy with mine, I snapped a photo on my phone so I could remember what it looked like. You want to avoid hanging everything on the wall and having it not be centered correctly. To avoid this, I used kraft wrapping paper cut to the sizes of my frames/objects and taped them to the wall (scotch tape doesn’t stick very well, so use masking tape or something similar). That way if you don’t like the way it looks, you don’t have to re-hammer all your nails.
Don’t worry too much about your paper being perfectly level, this is just for putting your nails in the right place. You can level your frames once they are hung.
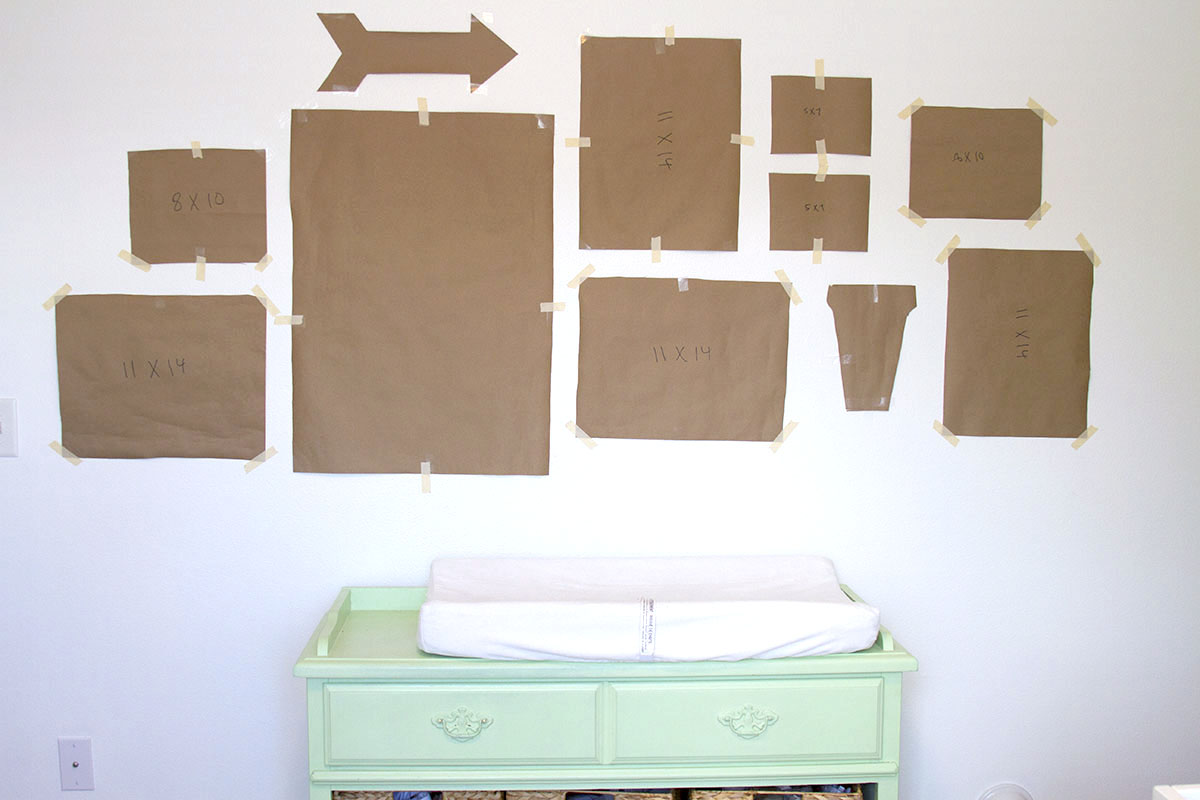
Once you are happy with how it looks you can start hammering. Measure how far down your nail will go from the top of the frame and hammer your nails straight into the paper. Once all your nails are in just rip off all the paper and hang your pictures! So easy!
My Gallery Wall Art Sources:
Wooden Arrow-Target
Popsicle Print- Julie Song Ink
“Blessed”Art Print (one of my own paintings)- Minted
Marquee Letter Light: JoAnn Fabrics, Similar Here
“California Dreams” Art Print- Minted
Together We Will Be Print- Floral Design by Erin
San Francisco Map- Bnito Shop
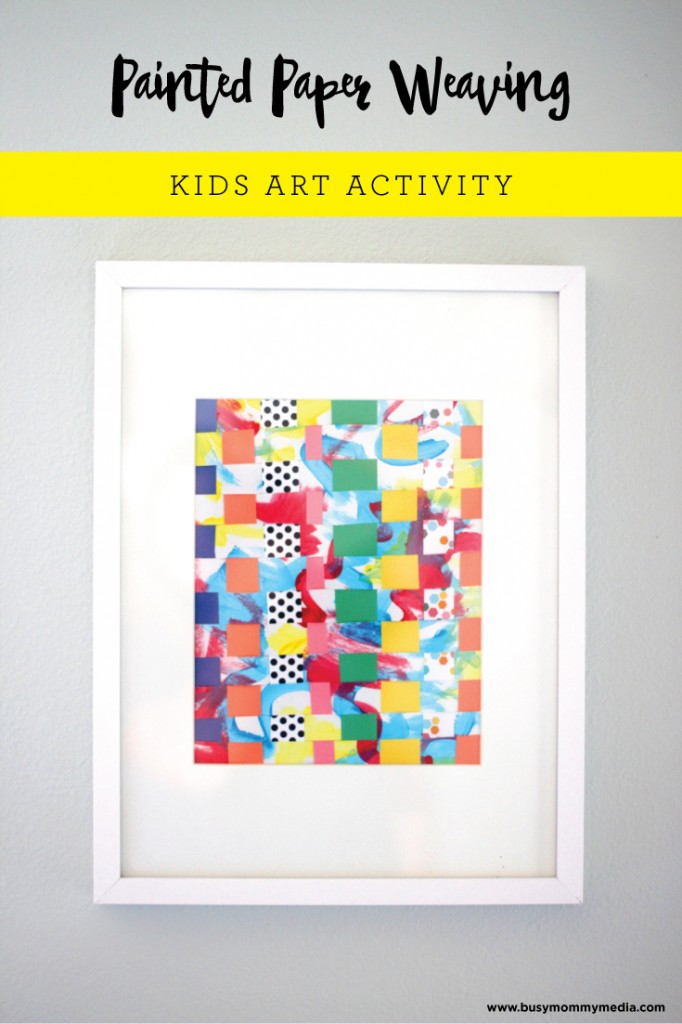
Paper Weaving- DIY, Tutorial Here
Bon Voyage Print- Kelsey Carlson Art
Share with your Friends
We LOVE it when you share our posts with your friends. We’d love a tweet, a pin, or a Facebook share. Thanks!
[Tweet “Thinking about hanging a gallery wall? Don’t do it until you read these tips and tricks. “]

You may also like:


The cut outs are a brilliant idea and really gives you a visual on how everything will look, before you make the holes. Great post!
Thank you for sharing the bundle of ideas to decorate walls. Now I can quickly transform the look of my walls.
This just inspired me to actually get everything up in my boys room! Great idea with the kraft paper!
I liked your advice to play around with the arrangement on the ground before putting anything up on the wall. I am going to try creating a gallery wall as I have lots of black-and-white photos which I want to hang somewhere. I also think that I want to buy some paintings to make my wall unique. I hope that I will arrange everything in a perfect way!